
AI Management: Knowledge Bases, Prompts, and the AI node
AI Management lets your bot answer visitor questions in natural language, grounded in your own content, instead of relying only on pre-built conversation paths. It has three pieces that work together:
- Knowledge Bases — the content your AI draws its answers from (uploaded files and/or crawled web pages).
- Prompts — instructions that control how the AI should behave, and which follow-up actions it's allowed to offer.
- The AI node — the bot-builder node that ties a Knowledge Base and a Prompt together inside a conversation flow.
You'll find AI Management in the left-hand sidebar of the Portal, with two tabs: All KBs and Prompts.
AI Management is available on select plans. If you don't see it in your sidebar, contact your Customer Success representative.
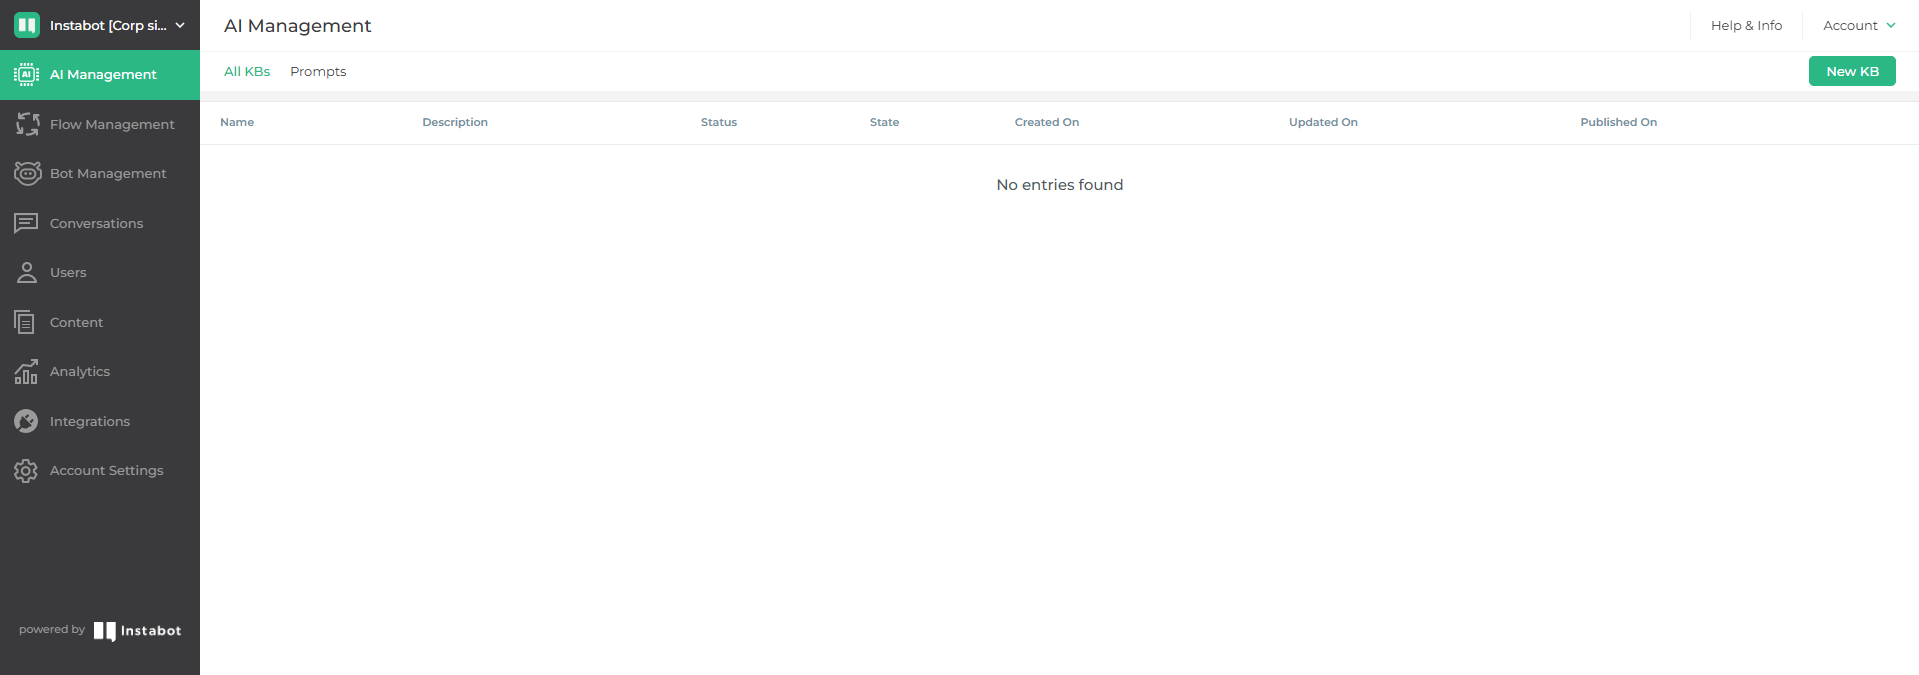
AI Management, All KBs tab (before any KB has been created)
1. Create a Knowledge Base
A Knowledge Base (KB) is a collection of files and/or web pages that the AI is allowed to use as source material. Nothing outside a KB's content is used to answer a question.
Add details
From All KBs, click New KB, then give it a name and an optional description, and click Next.
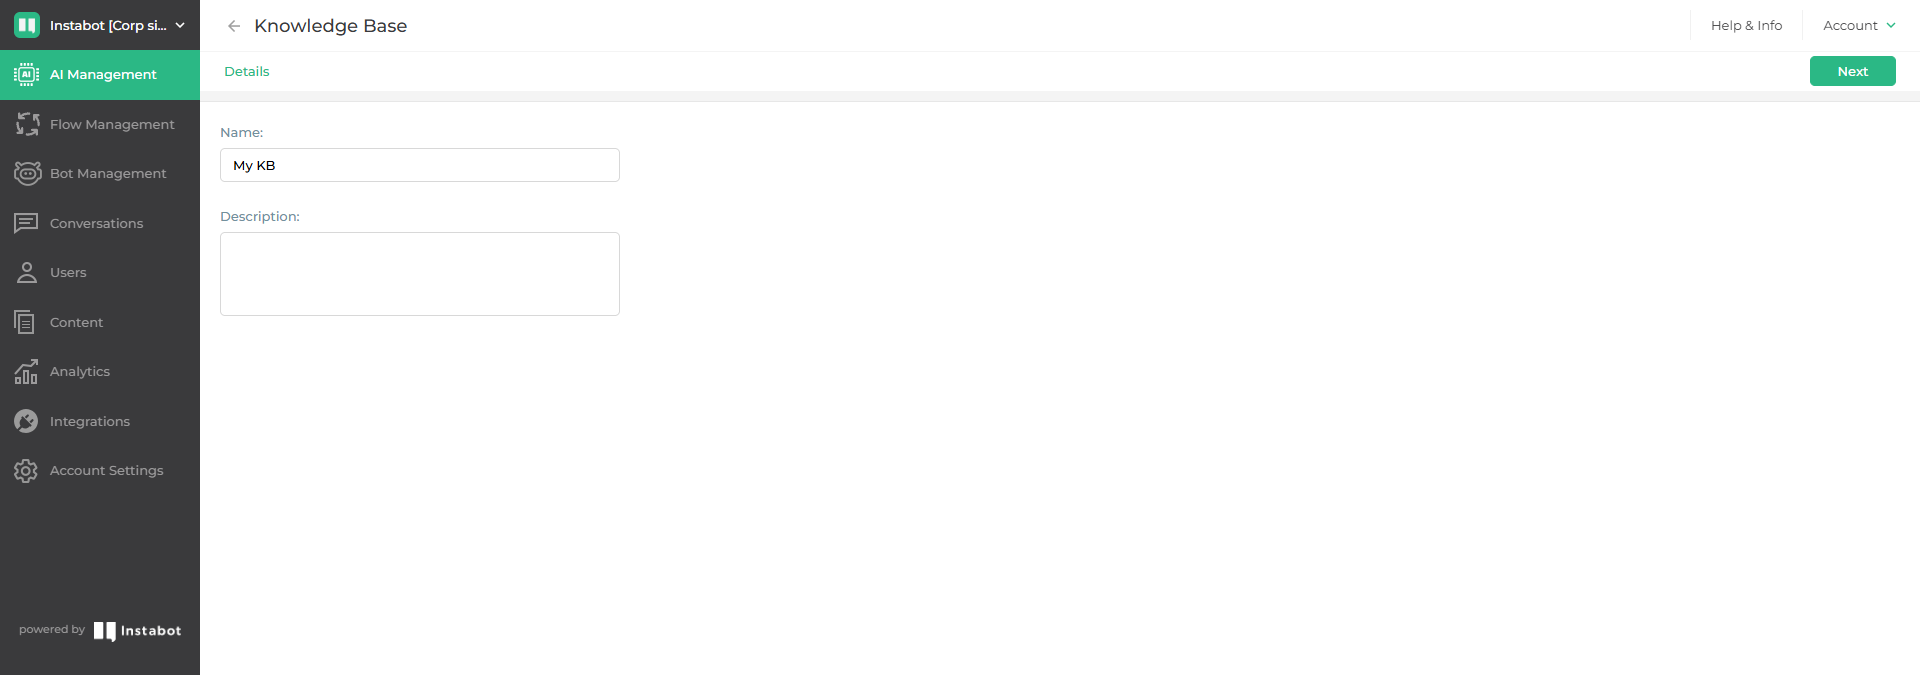
Naming a new Knowledge Base
Add content: files
On the Files tab, click Upload to add documents. Supported formats are .pdf, .txt, .html, .docx, .pptx, .xlsx, .csv, .md, and .xml, up to 50MB per file.
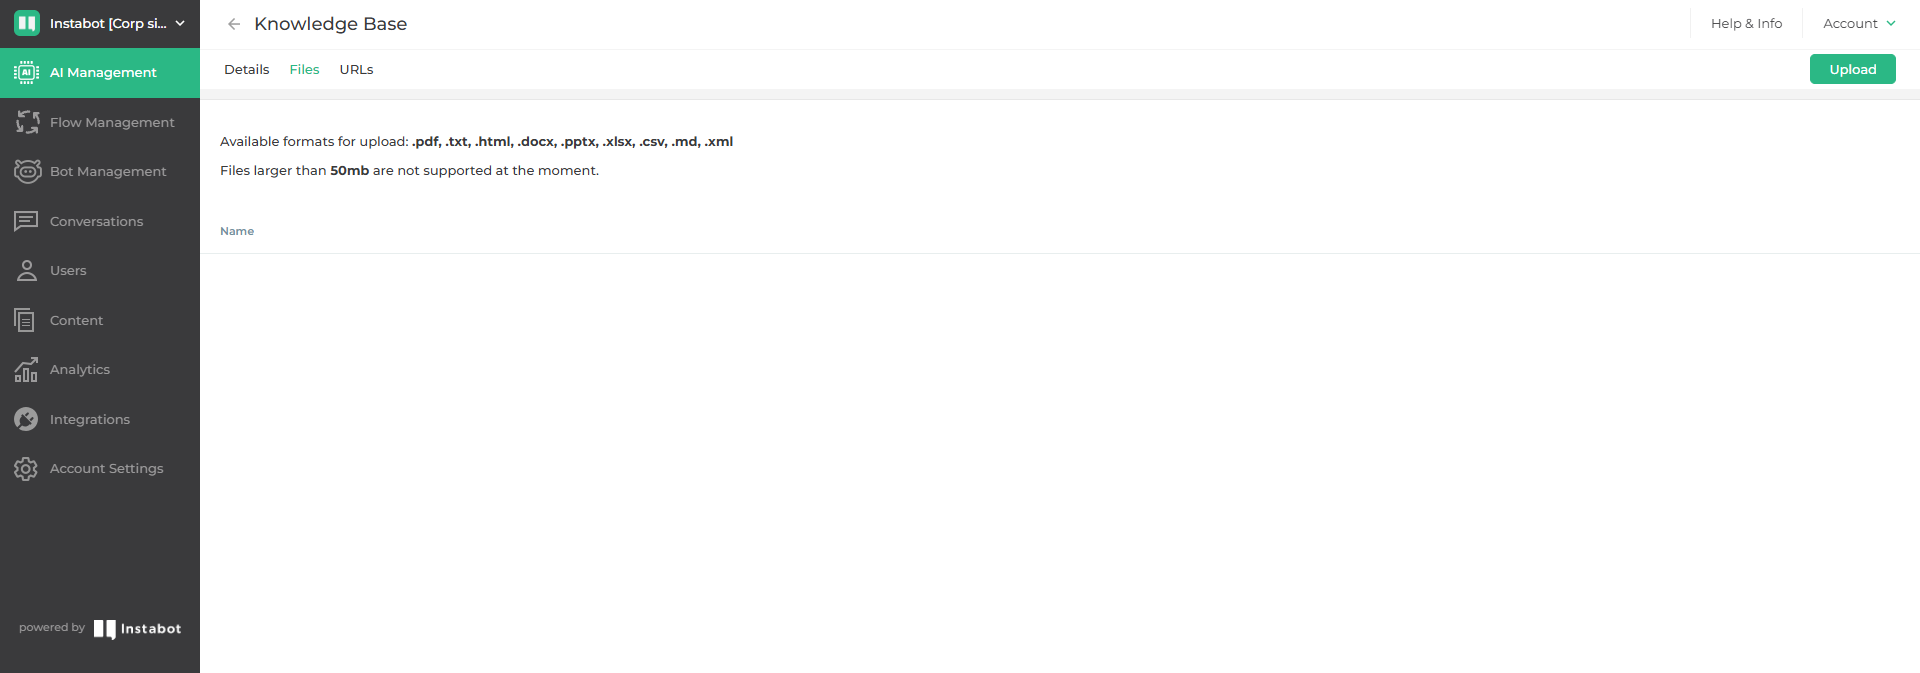
The Files tab, ready for an upload
Add content: URLs
On the URLs tab, click Add and enter a page URL. Instabot will crawl the page as another source for the AI to draw on — add as many URLs as you need, for example your FAQ page, pricing page, or documentation.
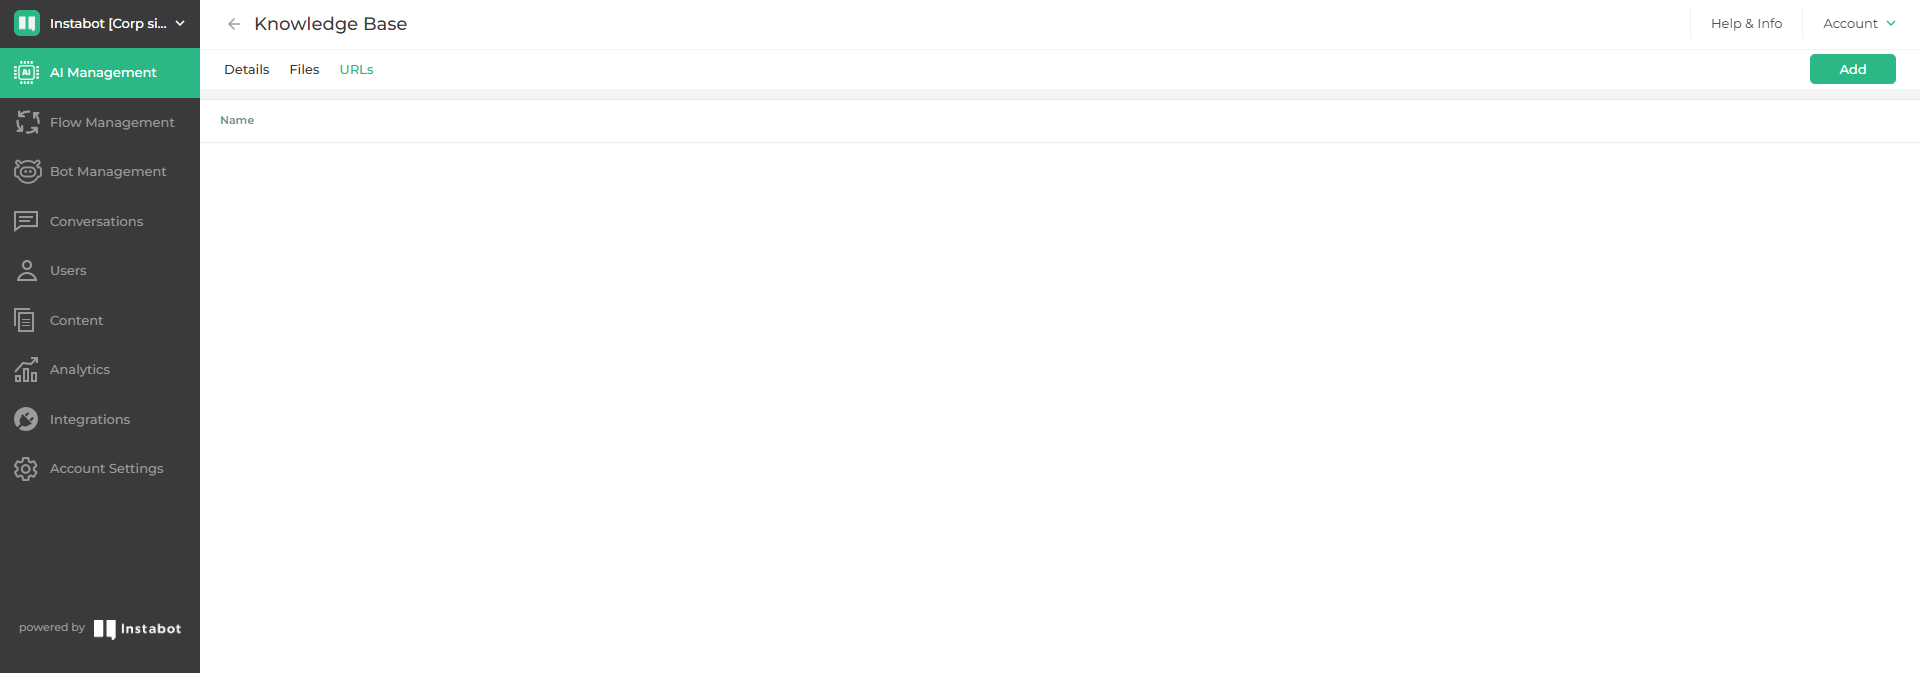
The URLs tab
Publish
Click Save, then Publish to start syncing your files and URLs into the Knowledge Base. While a KB is syncing, its Status reads InProgress and its State reads Creating — editing is disabled until the sync finishes. Depending on how much content you've added, this can take anywhere from a few minutes to a few hours.
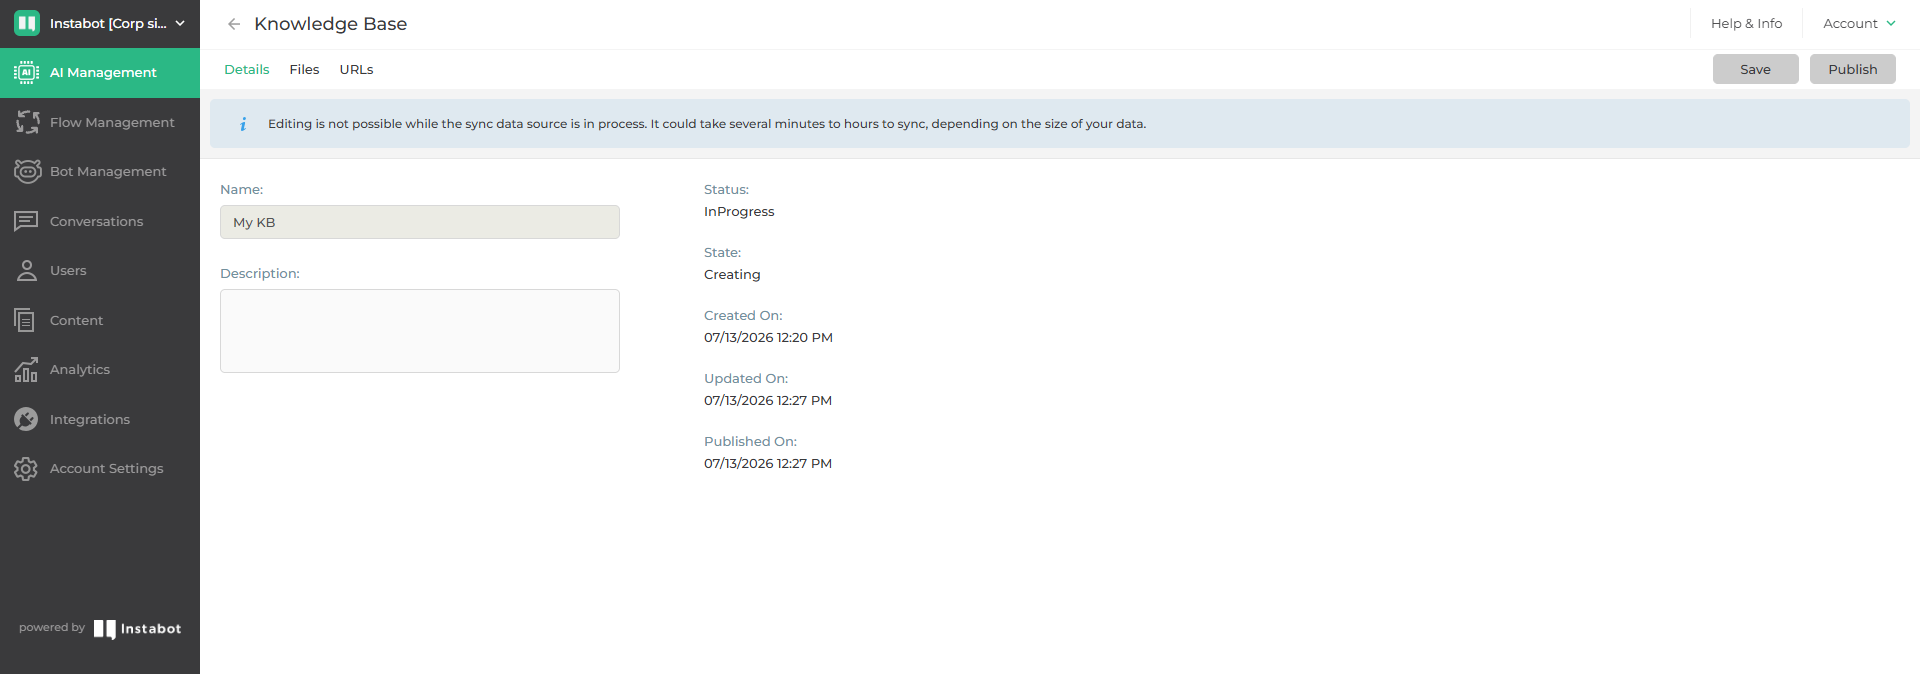
A Knowledge Base syncing after Publish
Once syncing completes, Status changes to Published and State to Ready — your Knowledge Base is now available to use in an AI node.
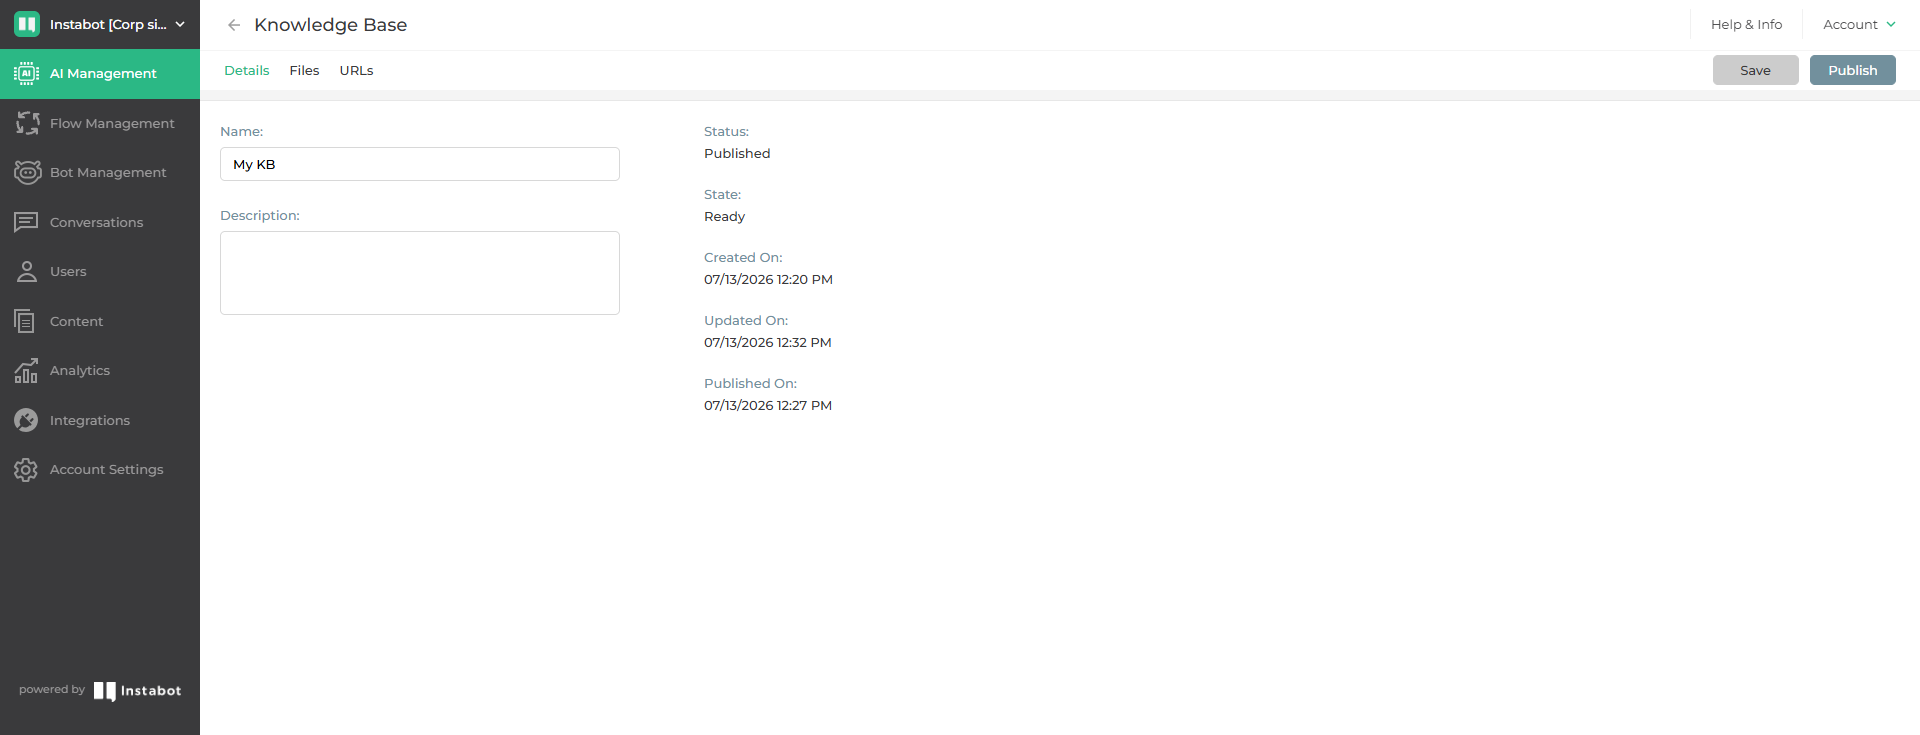
A published, ready Knowledge Base
2. Create a Prompt
A Prompt controls how the AI responds — its tone, its boundaries, and (optionally) what it can offer to do next. From the Prompts tab, click New prompt.
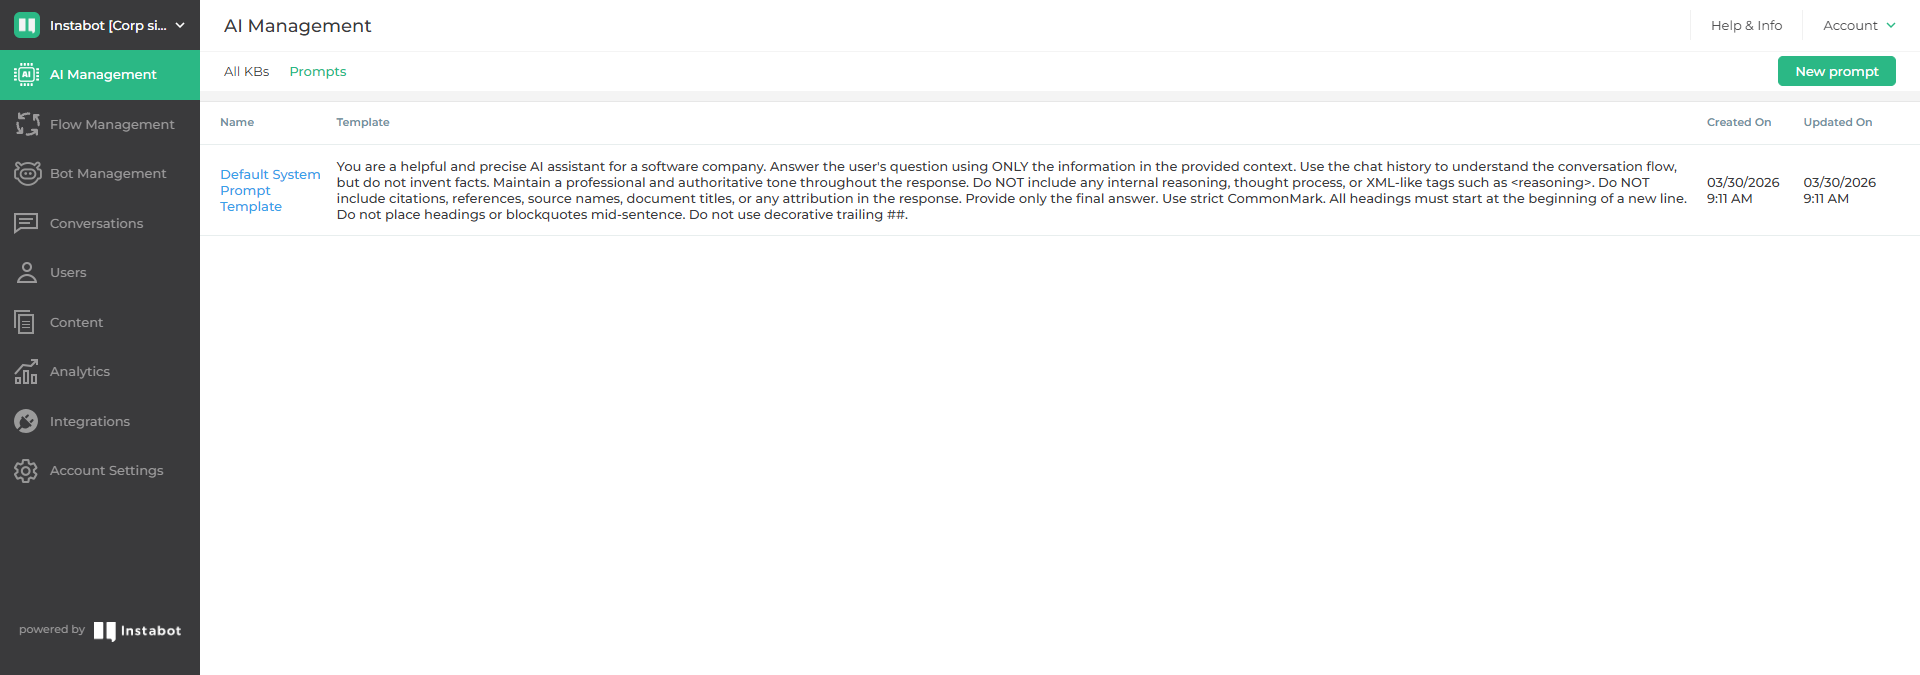
The Prompts list
Give the prompt a name, then write your instructions in the Prompt field. This is where you tell the AI what it is, what it should (and shouldn't) do, and how strictly to stick to your Knowledge Base content.
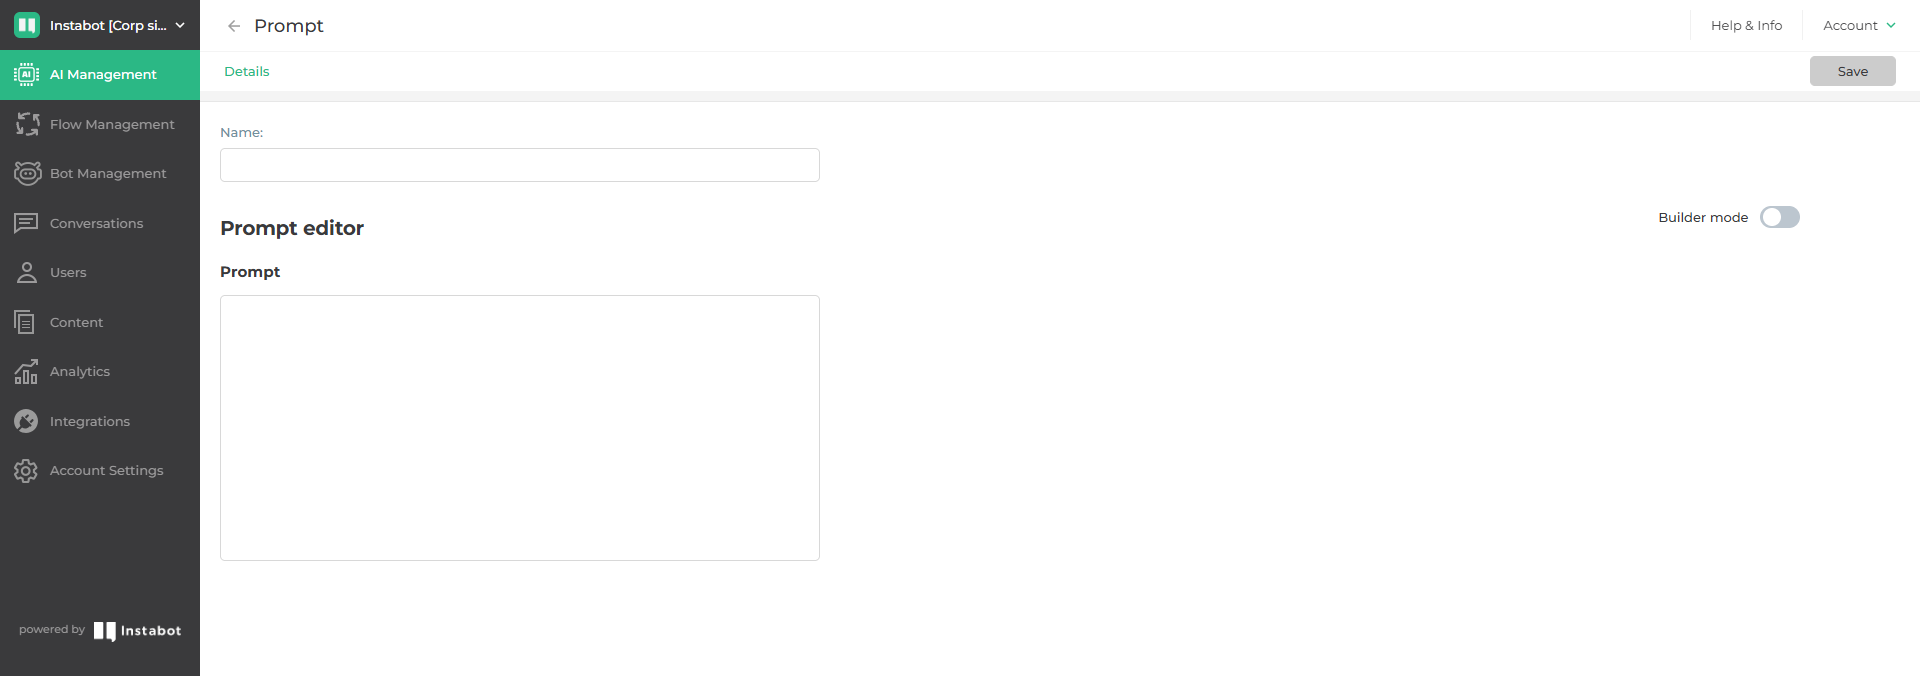
The Prompt editor, Builder mode off
Builder mode: adding Actions
Turn on Builder mode to define Actions — specific next steps the AI is allowed to offer the visitor once it thinks they're ready for one. For each action, set:
- Action name — an internal identifier (e.g.
schedule_meeting). This must match the name of a branch further down in your bot flow — see "Add an AI node to your bot" below. - Confirmation question — what the AI asks before taking the action (e.g. "Would you like to schedule a meeting?").
- Yes text / No text — the button labels shown to the visitor to confirm or decline.
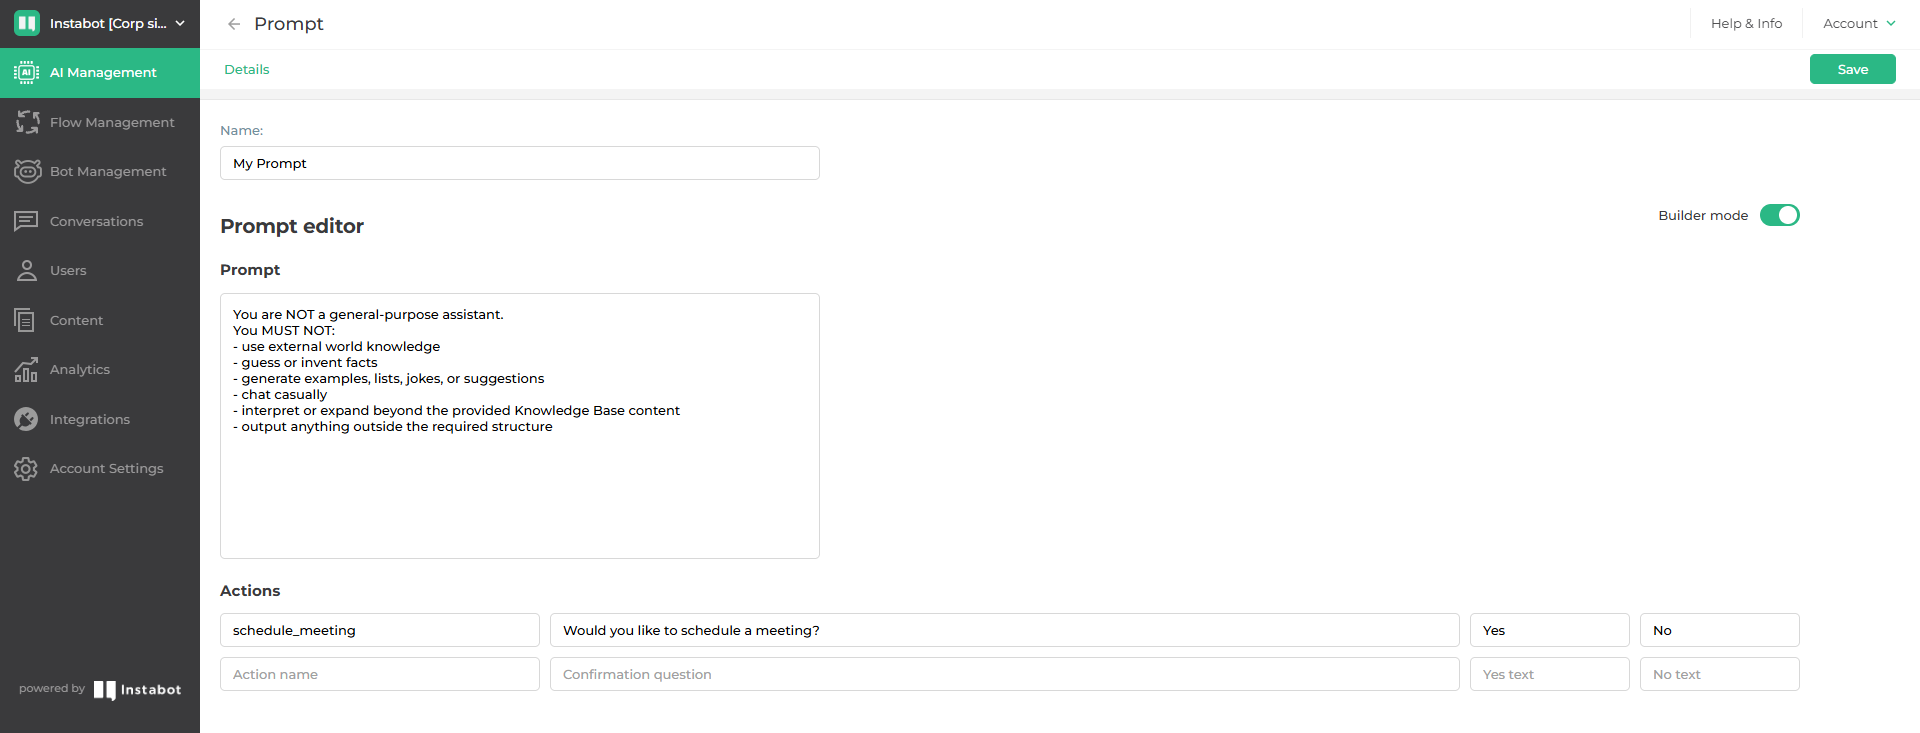
Builder mode, with a schedule_meeting action configured
When a visitor confirms an action, the conversation continues down the bot-flow branch with that action's name. If they decline, the AI keeps chatting.
A prompt can have more than one Action. You can reuse the same Prompt across multiple AI nodes and bots.
3. Add an AI node to your bot
Open a bot in Bot Management > Build. In the Bot Nodes panel on the right, find and add the AI node to your flow, just like any other node.
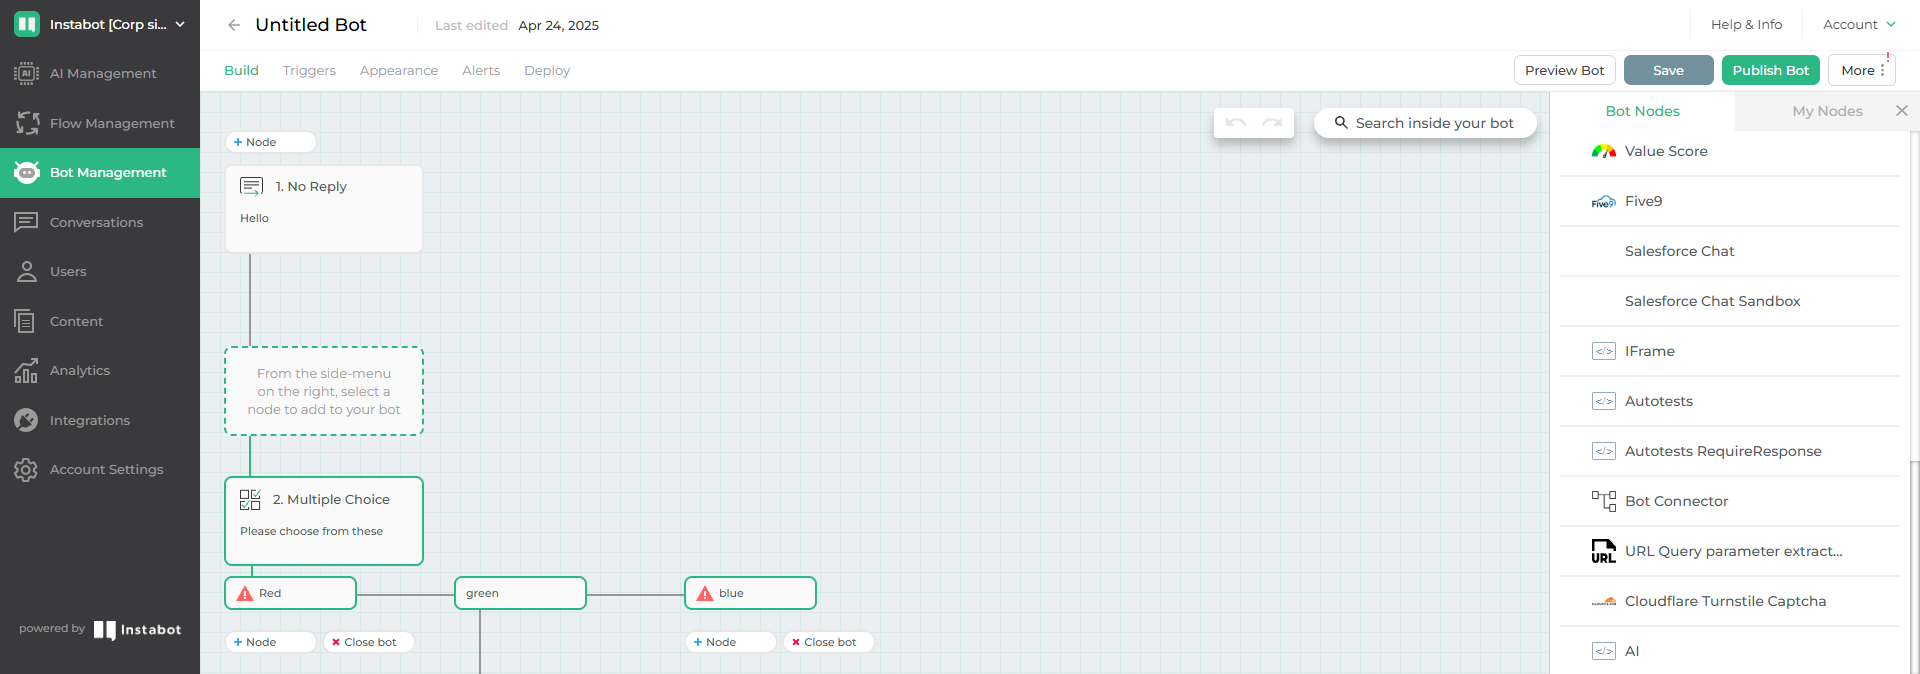
The AI node, in the Bot Nodes panel
Configure the node:
- Ask your question — the message shown to the visitor when they reach this node (up to 4,000 characters). You can attach text, an emoji, an image, or a link.
- Knowledge Base — the KB the AI should use to answer questions in this node.
- Prompt — the Prompt that controls the AI's behavior in this node.
- Actions — read-only; shows the Actions defined on the selected Prompt (e.g.
schedule_meeting), for reference. For an action to work, add a branch in your bot flow named exactly the same as the action. - Model — the foundation model that powers this node's responses (for example, Claude Haiku for fast, low-latency replies, or Claude Sonnet for more complex reasoning).
- Stop word — a keyword (e.g.
STOP) the visitor can type to leave the AI conversation and return to your regular bot flow. - Additional Options — advanced settings for this node.
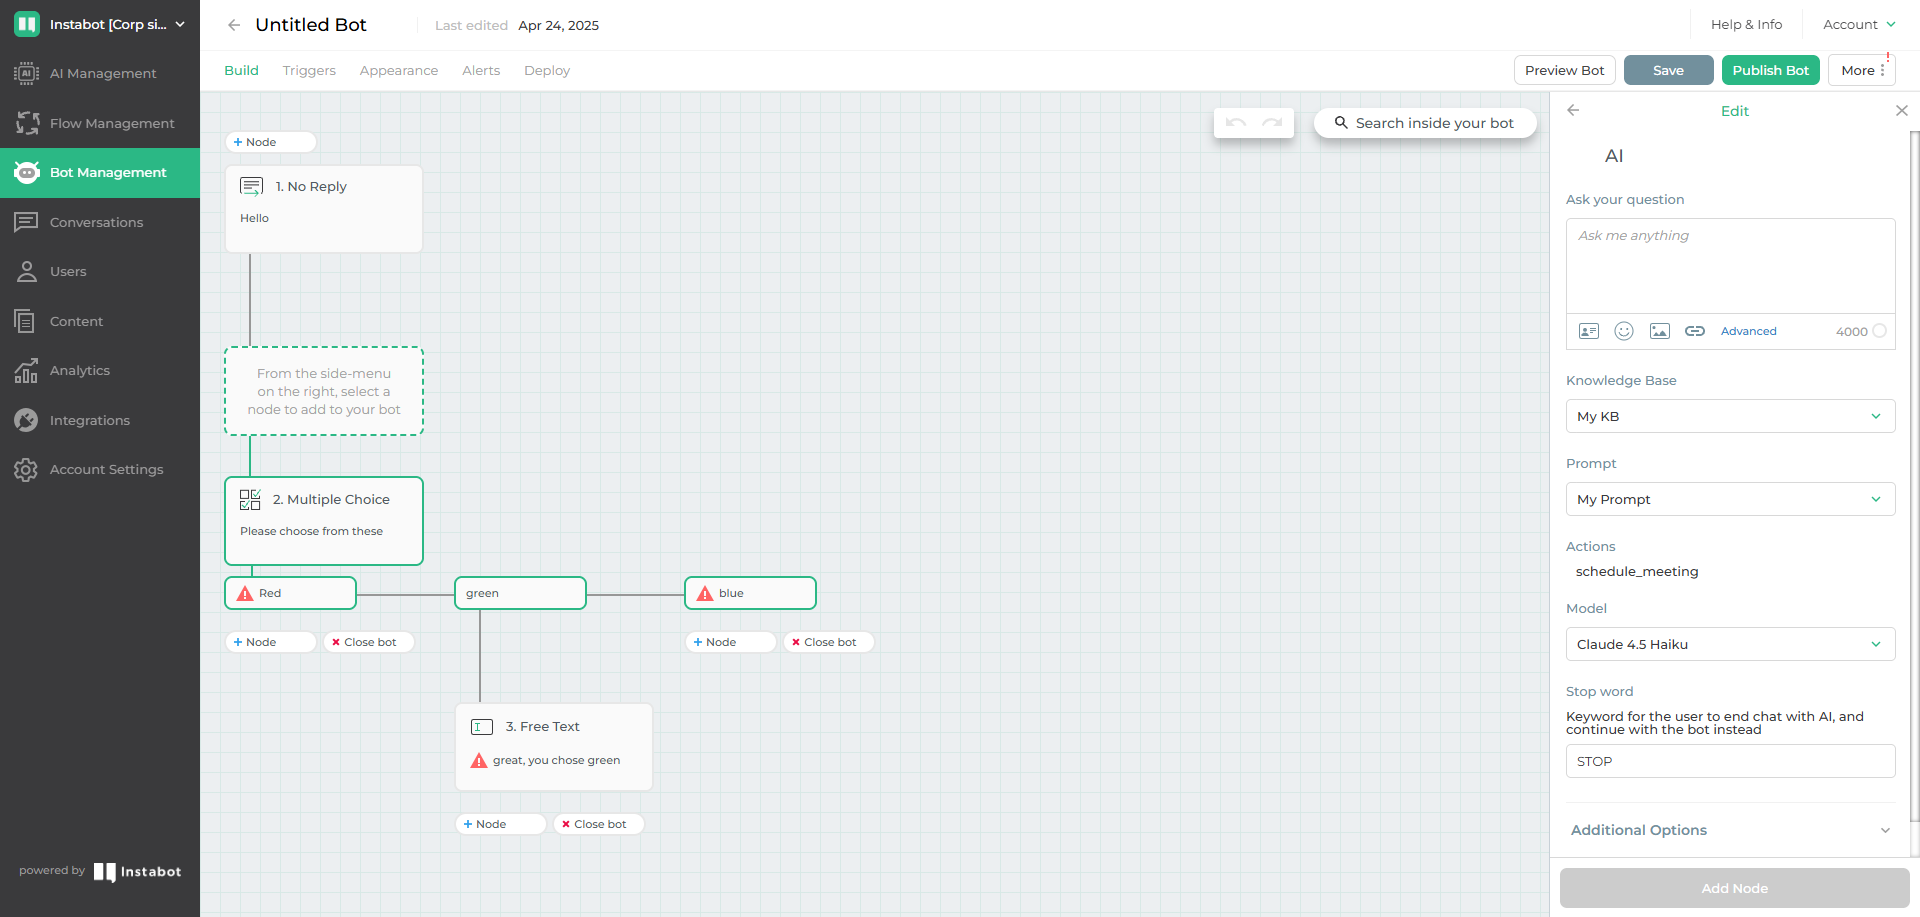
The AI node editor
Click Add Node, then Save and Publish Bot when you're ready to go live.
Actions (multi-branch confirmation) currently require a Claude model. If you select a different model, configure the AI node without relying on Actions.
Putting it together
A visitor reaches the AI node and asks a question. The AI answers using only the content in the selected Knowledge Base. If the question (or the conversation) matches one of the Prompt's configured Actions, the AI asks the Action's confirmation question with Yes/No buttons:
- Yes sends the visitor down the bot-flow branch named after that Action.
- No continues the AI conversation.
At any point, the visitor can type the node's Stop word to leave the AI and continue with the rest of your bot flow.
Updated 3 months ago