Launch Instabot inline
FYI to the reader - I unlisted this specific doc because this specific implementation method doesn't make sense anymore...
Overview
Launching inline is useful for launching Instabot in situations where embedding rokoInstabot.js directly on the page-level is not possible, or undesirable.
To do this, we will do two things:
- Set up an event-trigger for your conversation in the Instabot portal
- Configure the web Instabot JavaScript
Contents
Prerequisites
1. Set up an event-trigger for your conversation
-
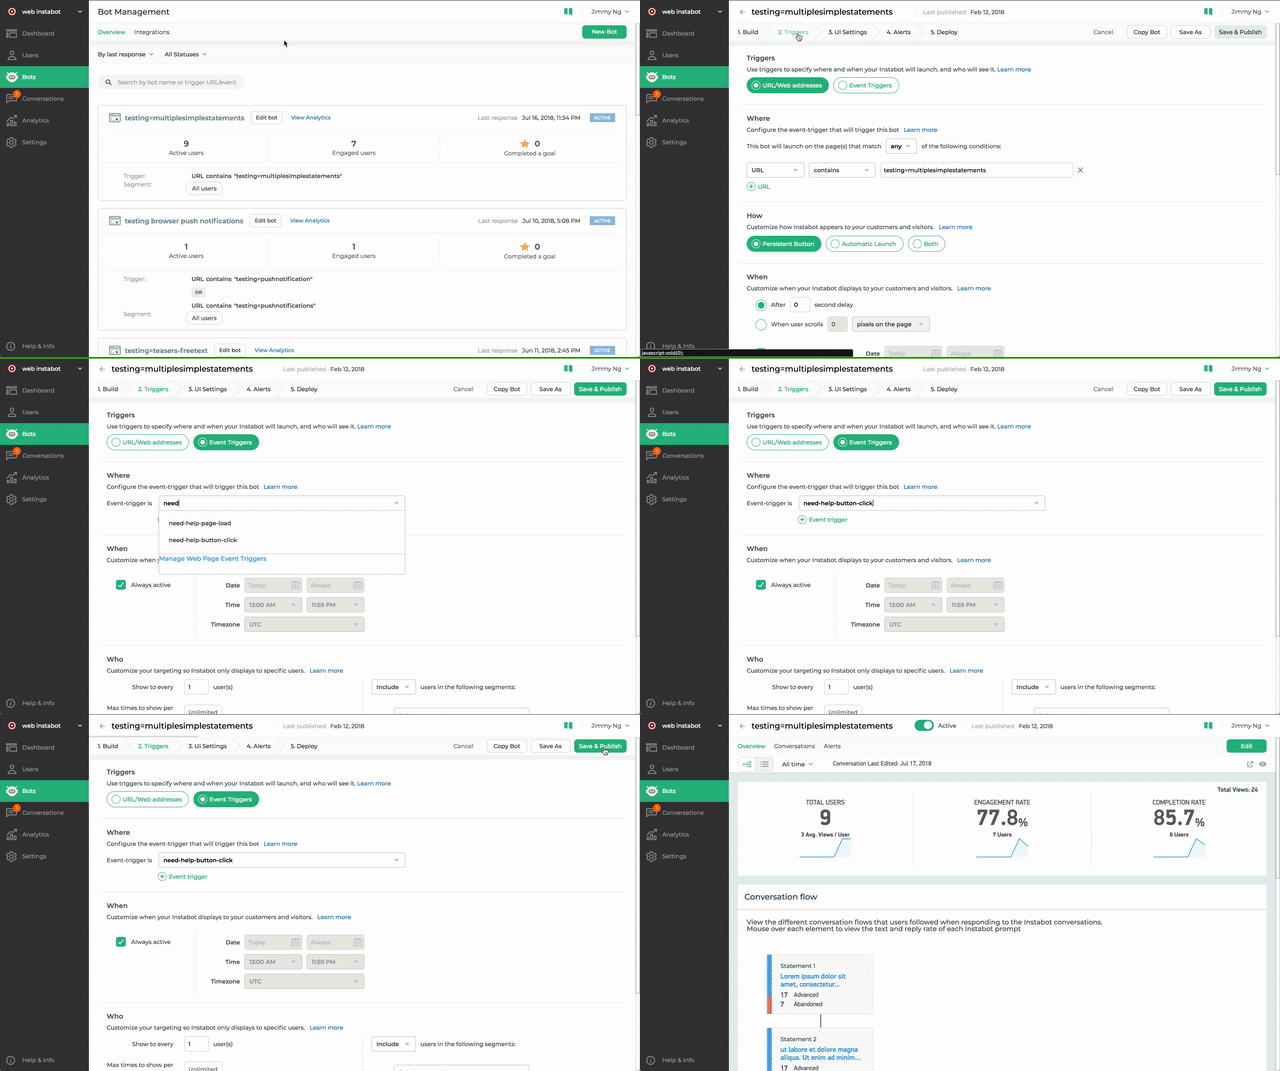
To start, let's create and assign your Instabot event-trigger to your conversation. Open your Instabot conversation, click
Edit, then clickTriggers. -
This page allows you to configure when and how the Instabot will launch. The first thing we'll do on this page is configure an event-trigger. Event-triggers uniquely link your website's Instabot code, and the conversation you're creating now.
- Under
Triggers, selectEvent Trigger - Under
Where, type in a brief and descriptive event-trigger. For this example, let's create an event-trigger calledneed-help-page-click - Click
Create New Event Triggerto add it

Add event-trigger for web Instabot
- Click
Publishin the top right corner.
Now we're ready to create the web Instabot snippet.
2. Build the web Instabot snippet
- In the Instabot JavaScript snippet below, replace the following value with your value:
apiKey- Your Instabot API keyinitialEvent- The Instabot event-trigger attached to your conversation in the previous section
<!-- base web-Instabot JS snippet
to launch IB inline -->
<a onclick="(function (i, s, o, u, a, m) { a = s.createElement(o); a.innerHTML =
// insert your Instabot API key between the unicode double-quotes (") - required
'apiKey: "----Your Instabot API key----",' +
// b. insert your IB event-trigger between the unicode double-quotes (") - required
'initialEvent: "----Your IB event-trigger----"';
// do not modify below this
tags = s.getElementsByTagName(o); m = tags[tags.length - 1]; a.async = 1; a.src = u; m ? m.parentNode.insertBefore(a, m) : s.body.appendChild(a); })(window, document, "script", "https://widget.instabot.io/jsapi/rokoInstabot.js");" href="#" rel="bookmark">
Click this button to launch Instabot inline via onClick without embedding on page-level</a>
IMPORTANT
Make sure the value in
window.RokoInstabot.triggeris set to the name of the event trigger you configured in section 1.In this case, make sure you replace
YOUR-specific-conversation-event-triggerwith the exact event-trigger that you configured in section 1.
- Now, copy your Instabot JavaScript, insert it anywhere between the
<body></body>tags in your webpage's source code and set your webpage live. The Instabot should now appear in the lower-right corner of your webpage when the page loads!
Updated almost 7 years ago
