Quick Start
Don't have an Instabot account yet?
Overview
For this guide, we'll assume a scenario where our website's users have trouble finding our customer testimonials page. We will use Instabot to ask the user if they want see customer testimonials, and send them there if they click yes.
Ready? Let's do it!
1. Build your Instabot
- In the Instabot portal:
- select "Bots" in the left-hand navigation
- then click the "New Bot" button in the top-right corner.
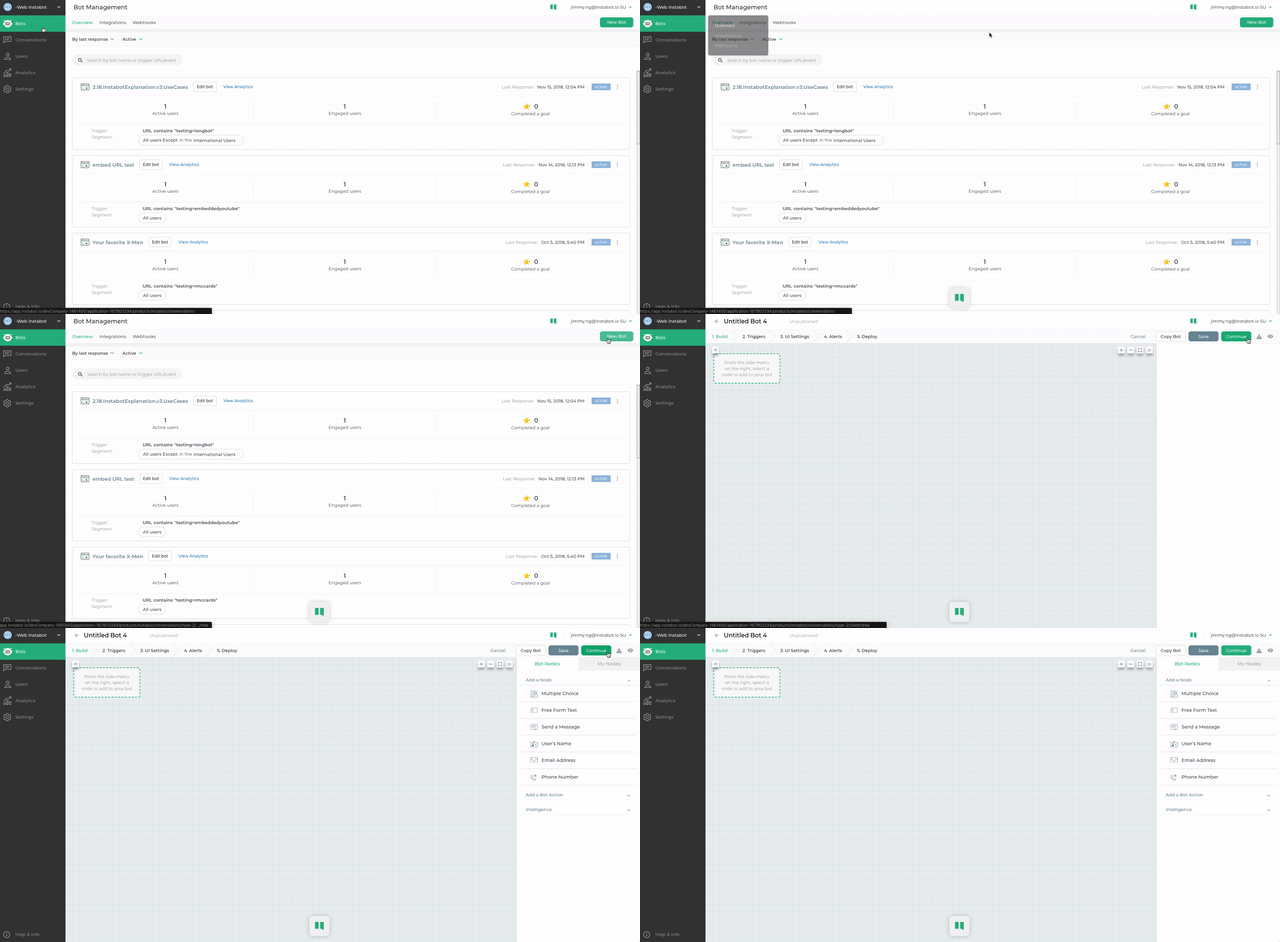
New Bot
- Let's add our first node - a "Multiple Choice" node:
- ask your question
- then give them two options to pick - Yes or No
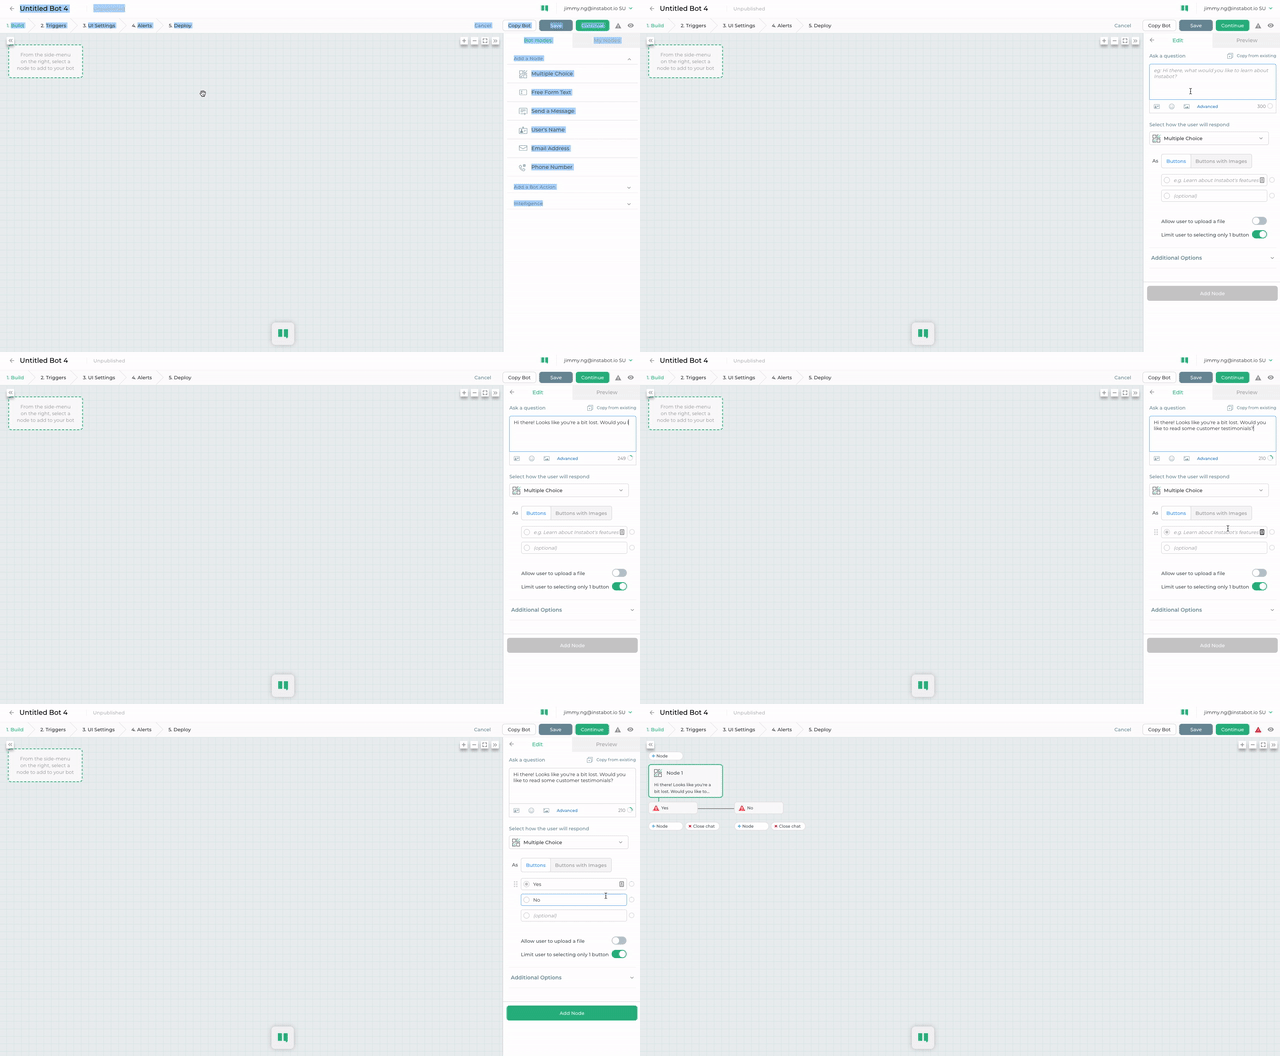
Create first Instabot message
- If the user picks Yes, let's send them to our customer-testimonials page:
- under "Yes", click +Action
- select "Redirect to an External URL" from the node menu
- enter the URL for your testimonials page, click "Add Node"
- add "Close chat" beneath the External URL node
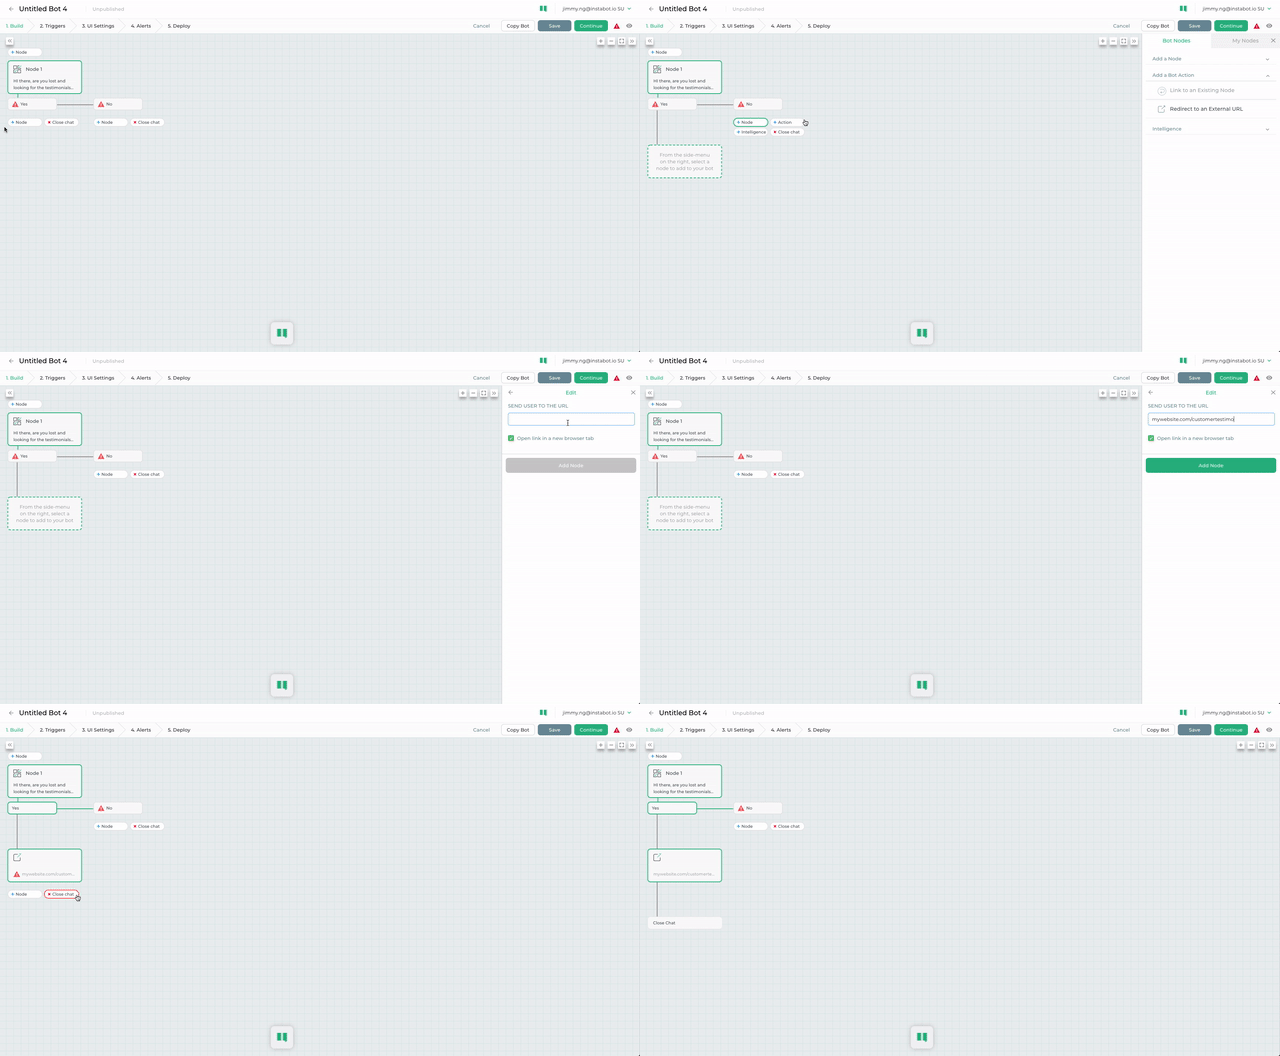
Redirect to External URL
- If the user picks No, then let's ask them what they're looking for:
- under "No", click +Node
- select "Free Form Text"
- ask your question
- click "Add Node"
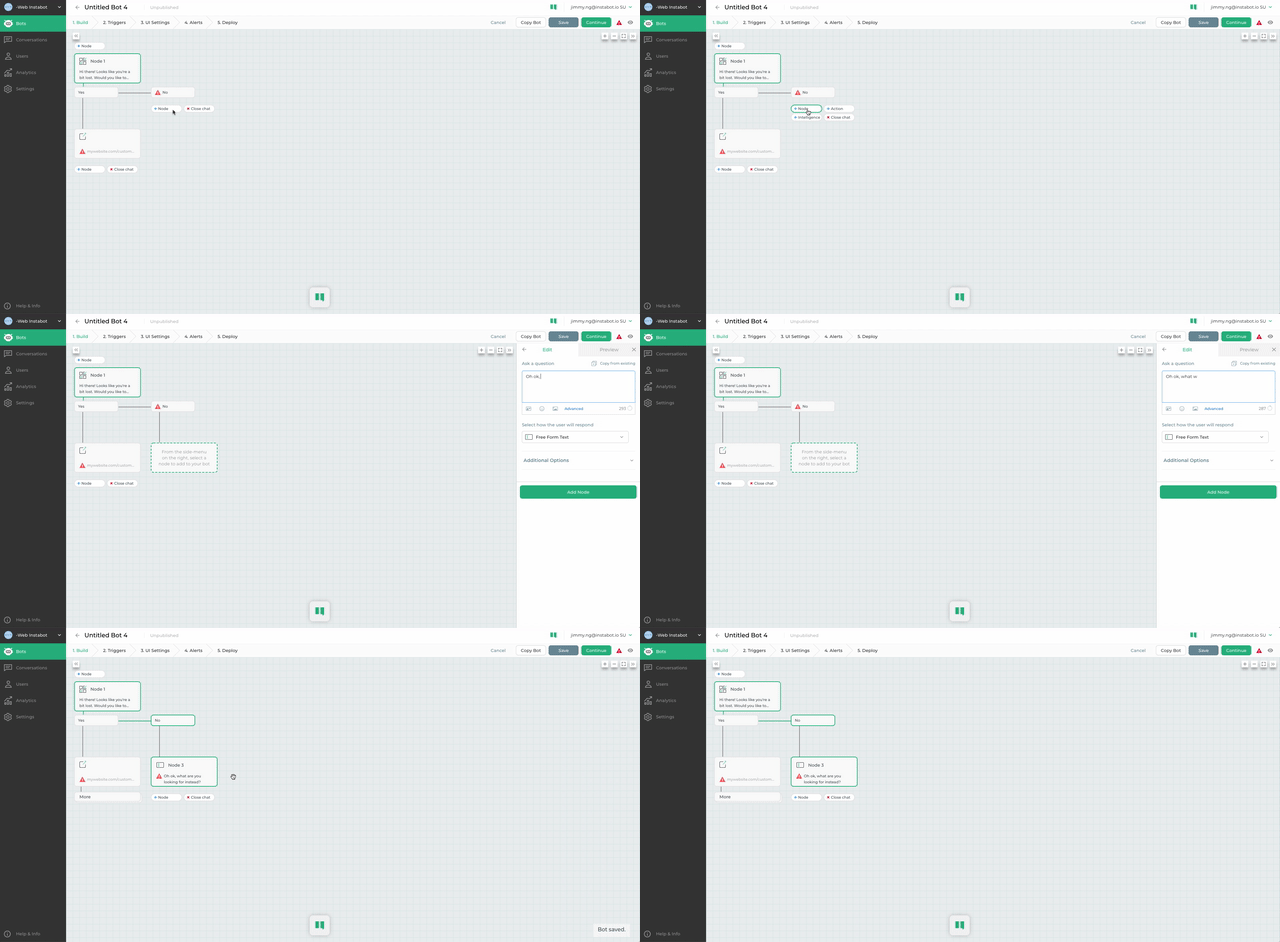
Ask a question
- Let's add one last node, then automatically close the bot.
- click +Node, select a "Send a Message" and type something like "Got it, we'll get back to you with an answer ASAP!", add the node
- Click "Close chat" beneath your last node
- You're done building your first bot! Click "Continue" in the top-right corner. Now let's confirm where, when, and how Instabot will trigger.
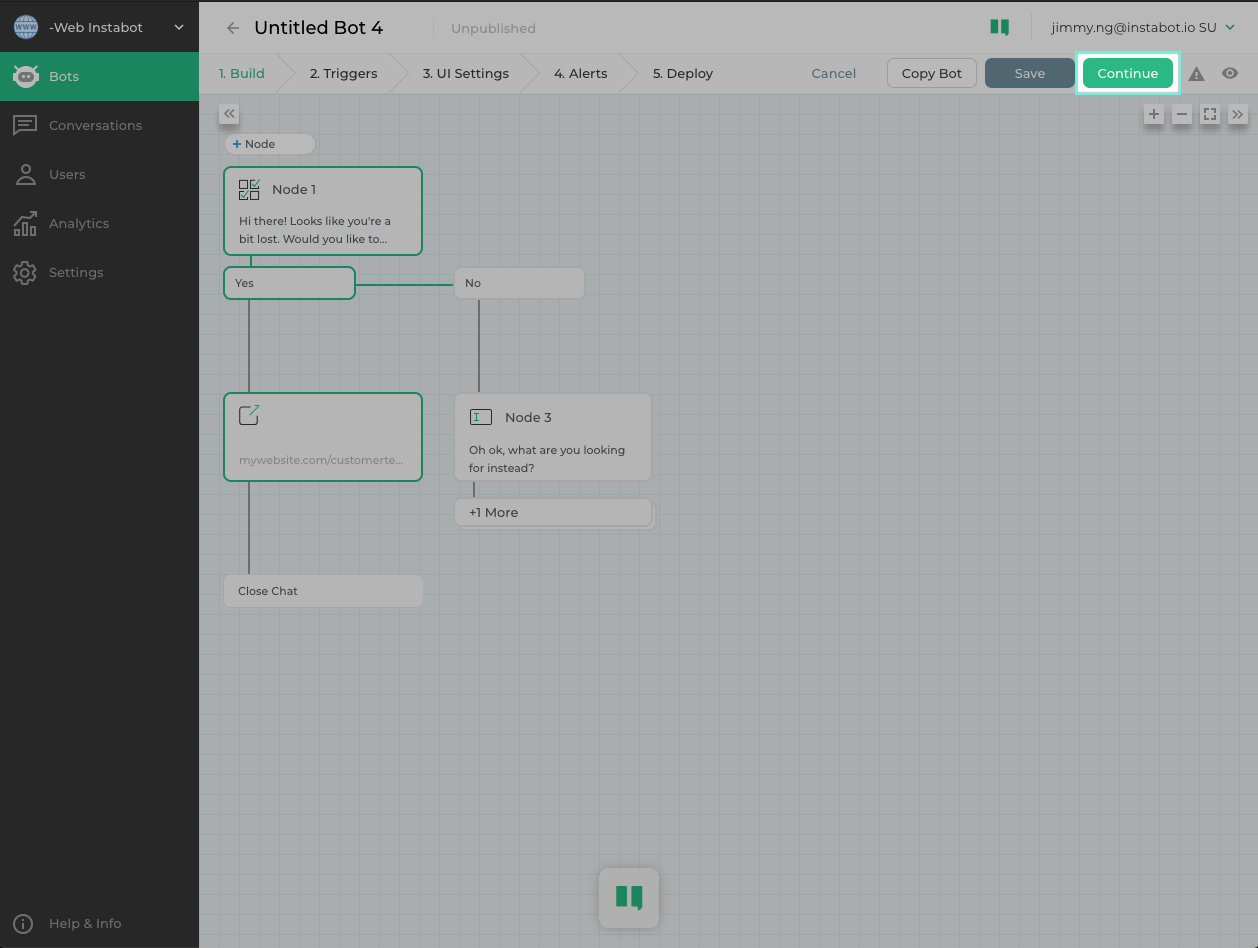
Close the chat
2. Instabot Triggers Page
This triggers page lets you to configure where, when and how your Instabot launches.
1. Triggers - Where
This trigger controls where Instabot appears on within your site.
- Launch on every page - this bot will launch on every page of your website where the Instabot JavaScript is integrated into
- Launch on specific page(s) - this bot will launch only on the pages of your website that you specify
The below example configuration will launch the bot only on pages that contain "instabot.io in the URL.
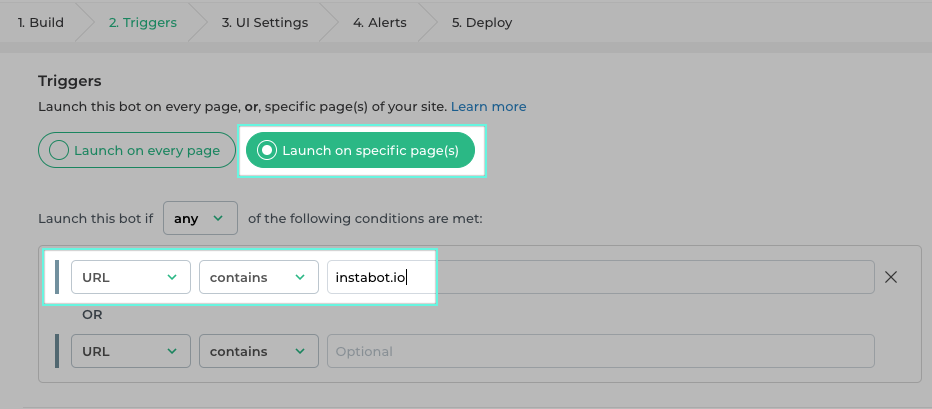
Trigger-types
2. How - Persistent Button vs Automatic Launch
This setting lets you set how Instabot will appear on your page:

How - Persistent Button vs Automatic Launch
- Persistent Button - Instabot launches when a user manually clicks the persistent button
- Automatic Launch - Instabot launches automatically when the page loads without user interaction
- Both - Instabot will launch automatically when the page loads, but if it is closed, the bot will still be available by selecting the persistent button.
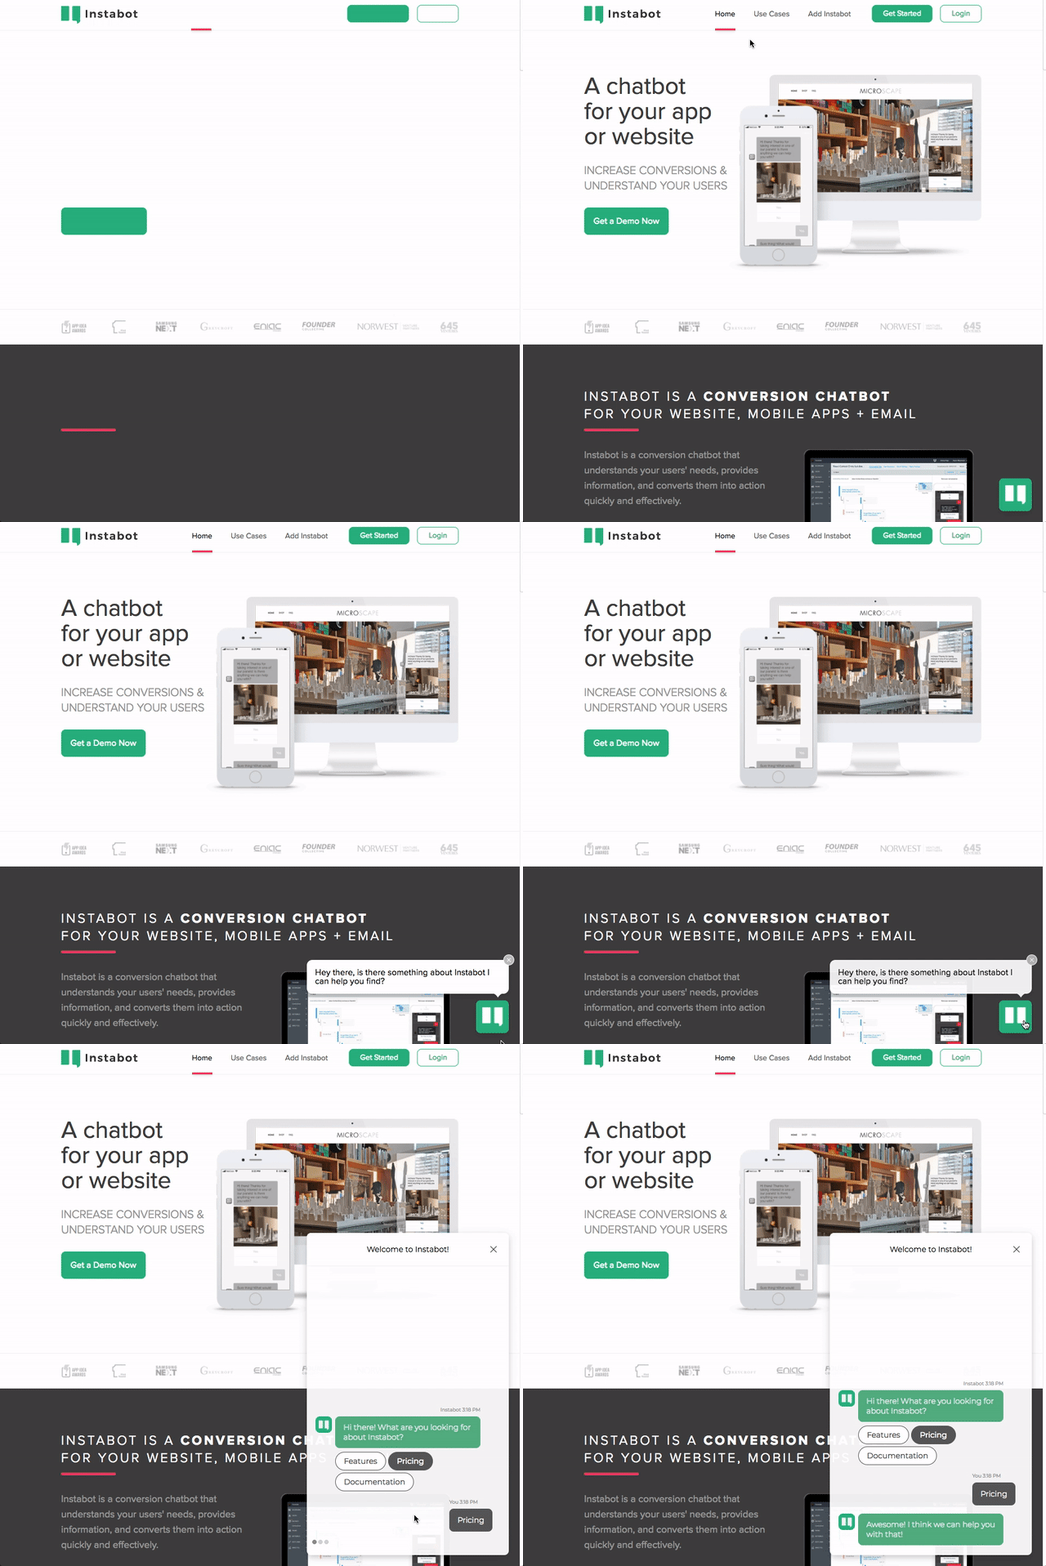
Example of Instabot configured as a Persistent Button and teaser message that appears 2 seconds after the page loads.
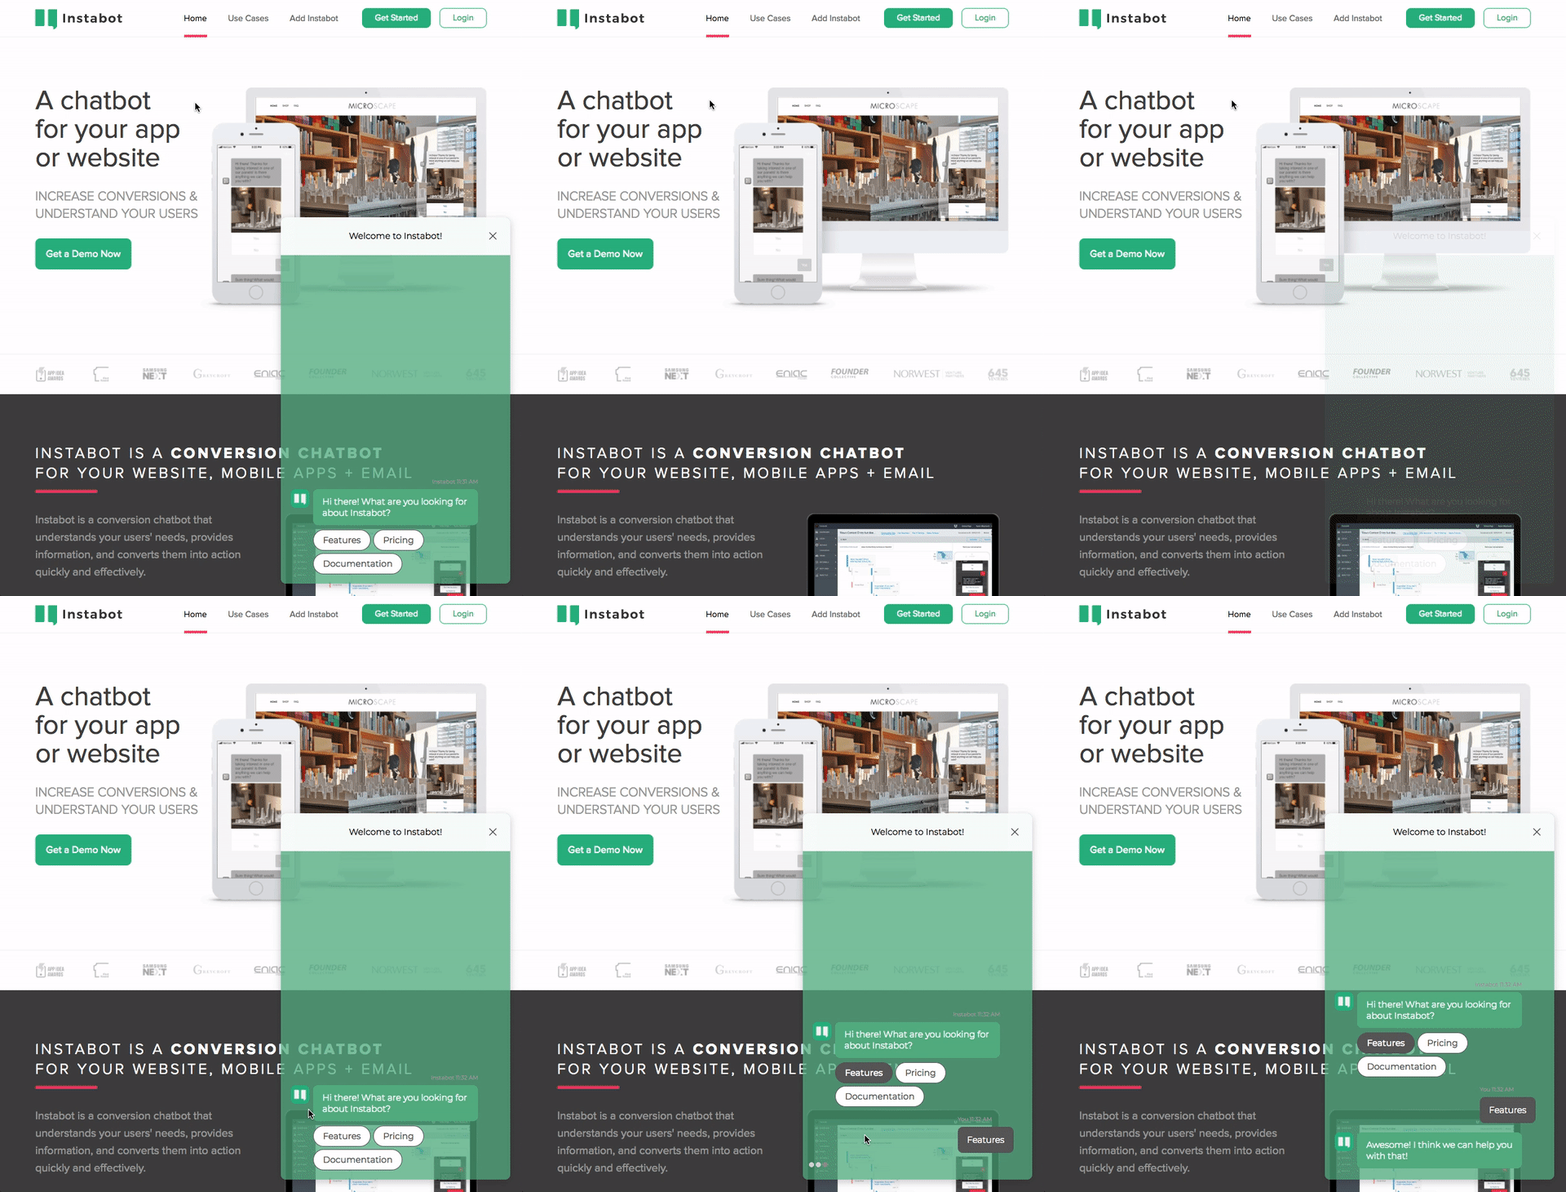
Example of Instabot configured to automatically launch 2 seconds after the page loads
2a. How - Teaser message
This setting lets you specify an optional message that will 'tease' the user. This setting only applies if Instabot is configured as a persistent button.
By default, a custom teaser message of "Hey there, is there something I can help you find?" will appear after 3 seconds.

This is an example configuration of a teaser message of "Hey there, can I help you find something?" would appear 3 seconds after the button appears on the page
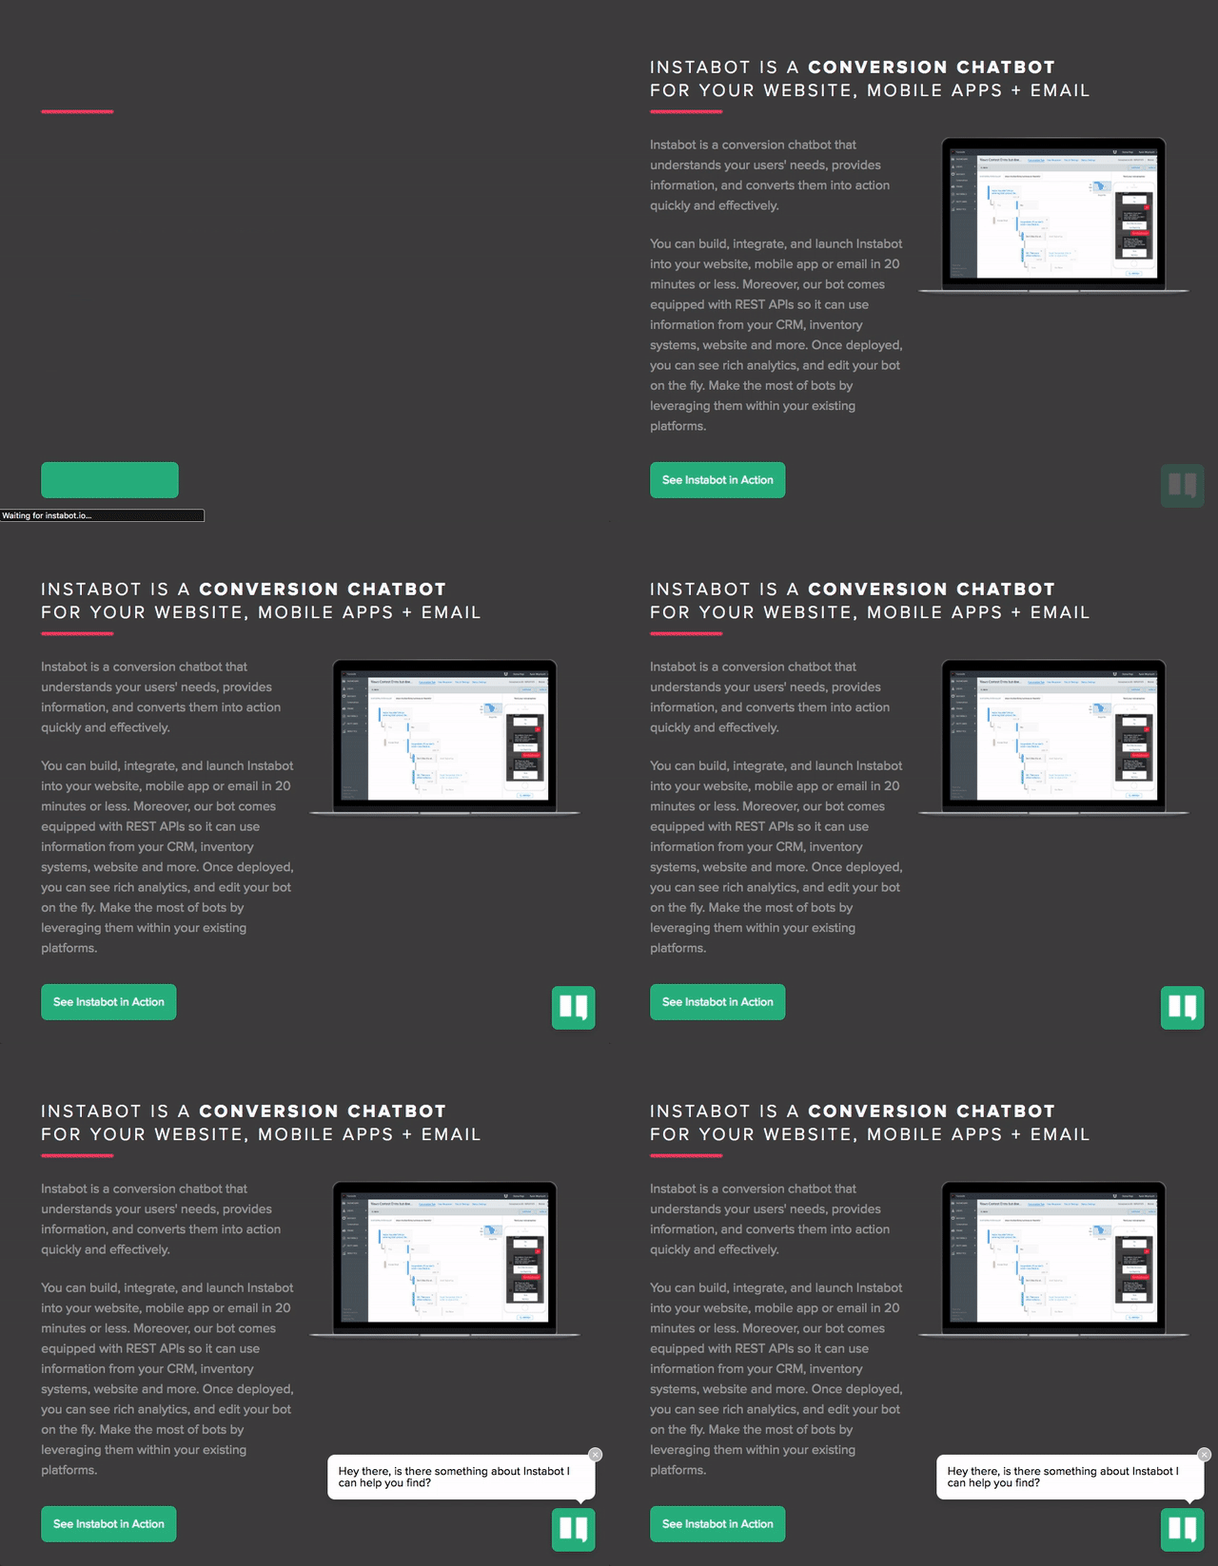
This is an example of what a teaser-message on 2 second delay would look like to your users
3. When
This trigger lets you set when Instabot will appear. For example:
- Appear immediately? or only after the user scrolls a certain amount, or some time has passed
- Appear always? Or only during a certain time/day
By default, Instabot will launch immediately (0 second delay, and 0 scroll), everyday (Monday - Sunday), all the time (12a - 11:59p)
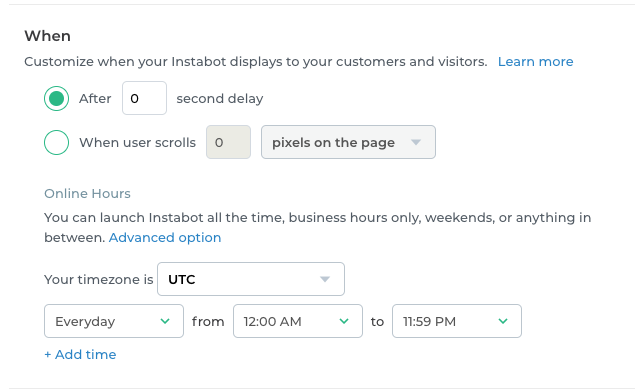
Example configuration where Instabot appears 0 seconds after the page finishes loading during all dates/times
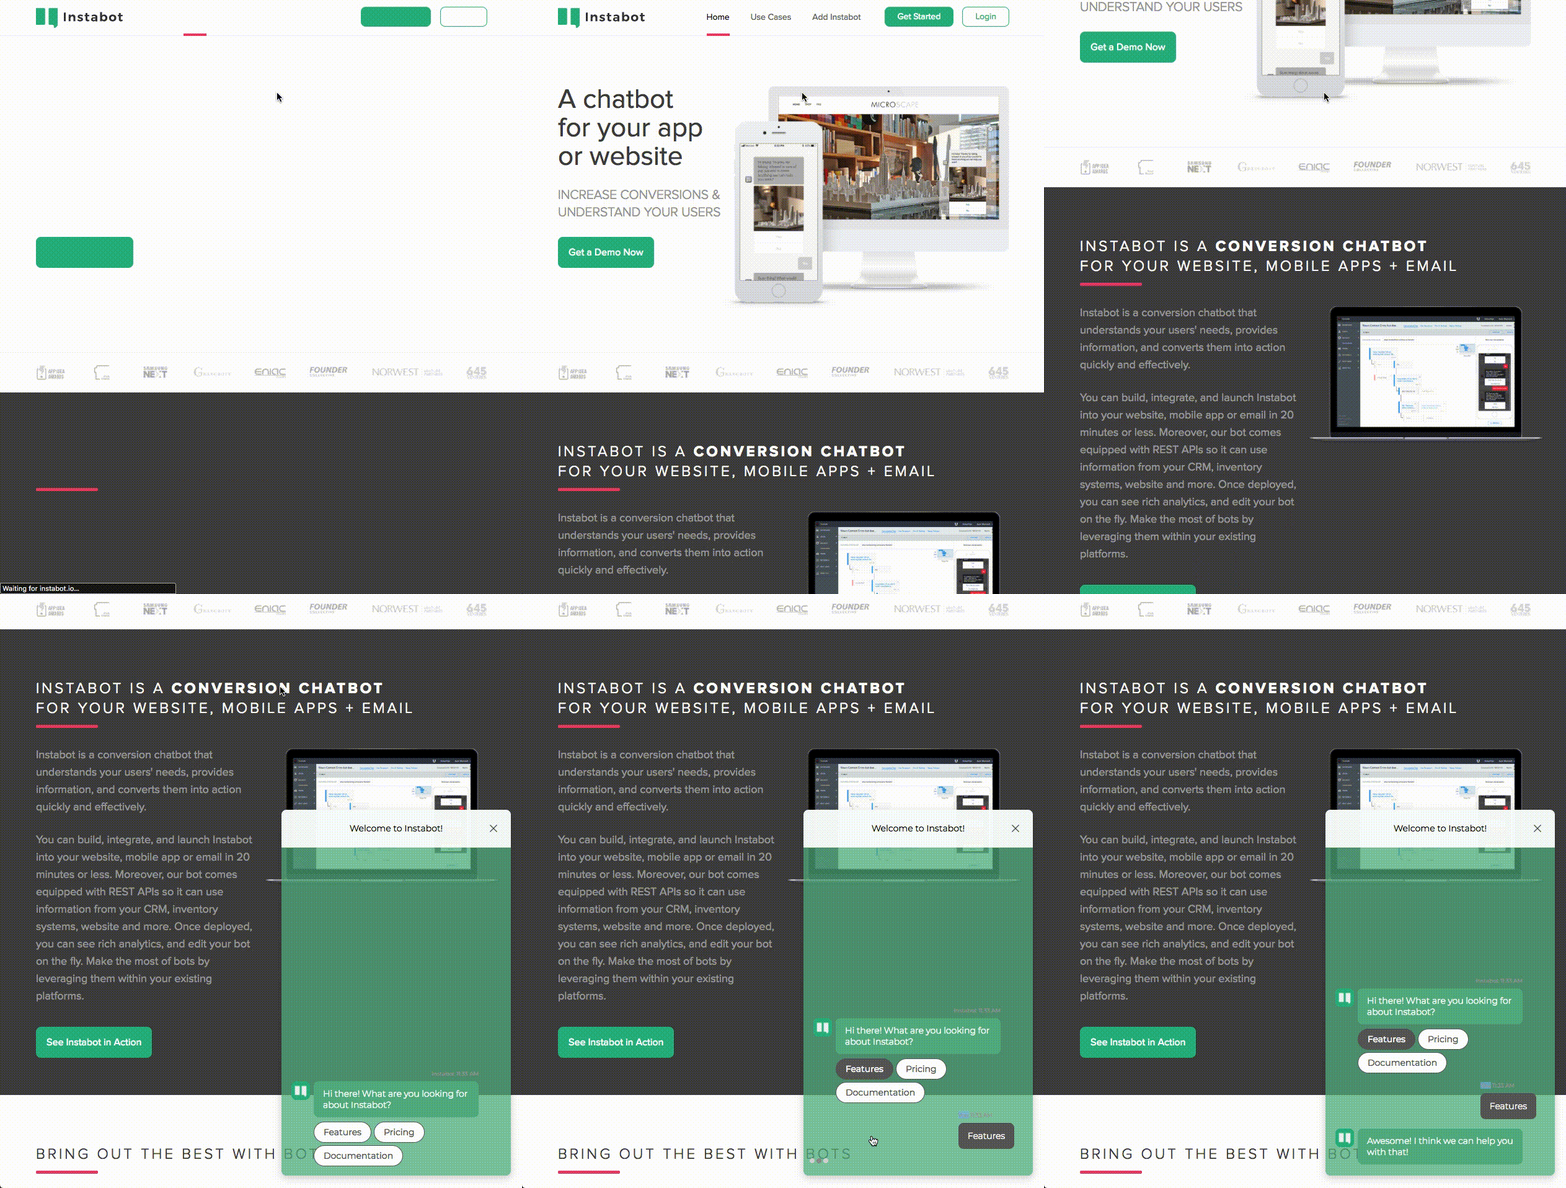
Example of Instabot configured to automatically launch when the user scrolls 500 pixels down the page
4. Who
This trigger lets you set who will see your Instabot. For example:
- Show to every user? Or 1 in every x users
- Show to each user unlimited times? Or max x times
- Show to everyone in the world? Or limit to a specific country
By default, Instabot will be seen by everyone, unlimited times, in any country, and on any device-type.
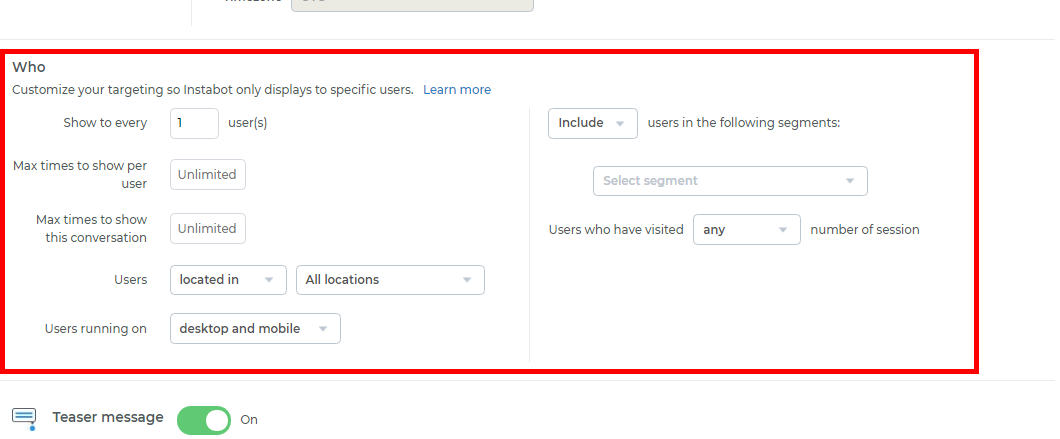
Who
- "Every __ users" - this controls what percentage of your users see the Instabot - for example, setting this to "Every 4 users" would cause every fourth user to see the Instabot (25% of total users)
- "Per user cap" - this controls the maximum number of times a specific user would see the Instabot - for example, if set to "Per user cap: 3", a user would see Instabot the first two times they visit your page, but no more times after that
- "Conversation cap" - this controls the maximum number of times the conversation can be shown in total - for example, if set to "Conversation cap 500, the first 500 users would see the Instabot, no one after that.
That's it! Now let's put the finishing touches on the UI for our Instabot conversation.
Click 'Continue' in the top-right corner.
3. Instabot UI
Let's add finishing touches to our Instabot's UI.
- By default, you can choose your primary color and it will automatically update the color of the default Instabot Avatar and the user's response bubble to match your brand.
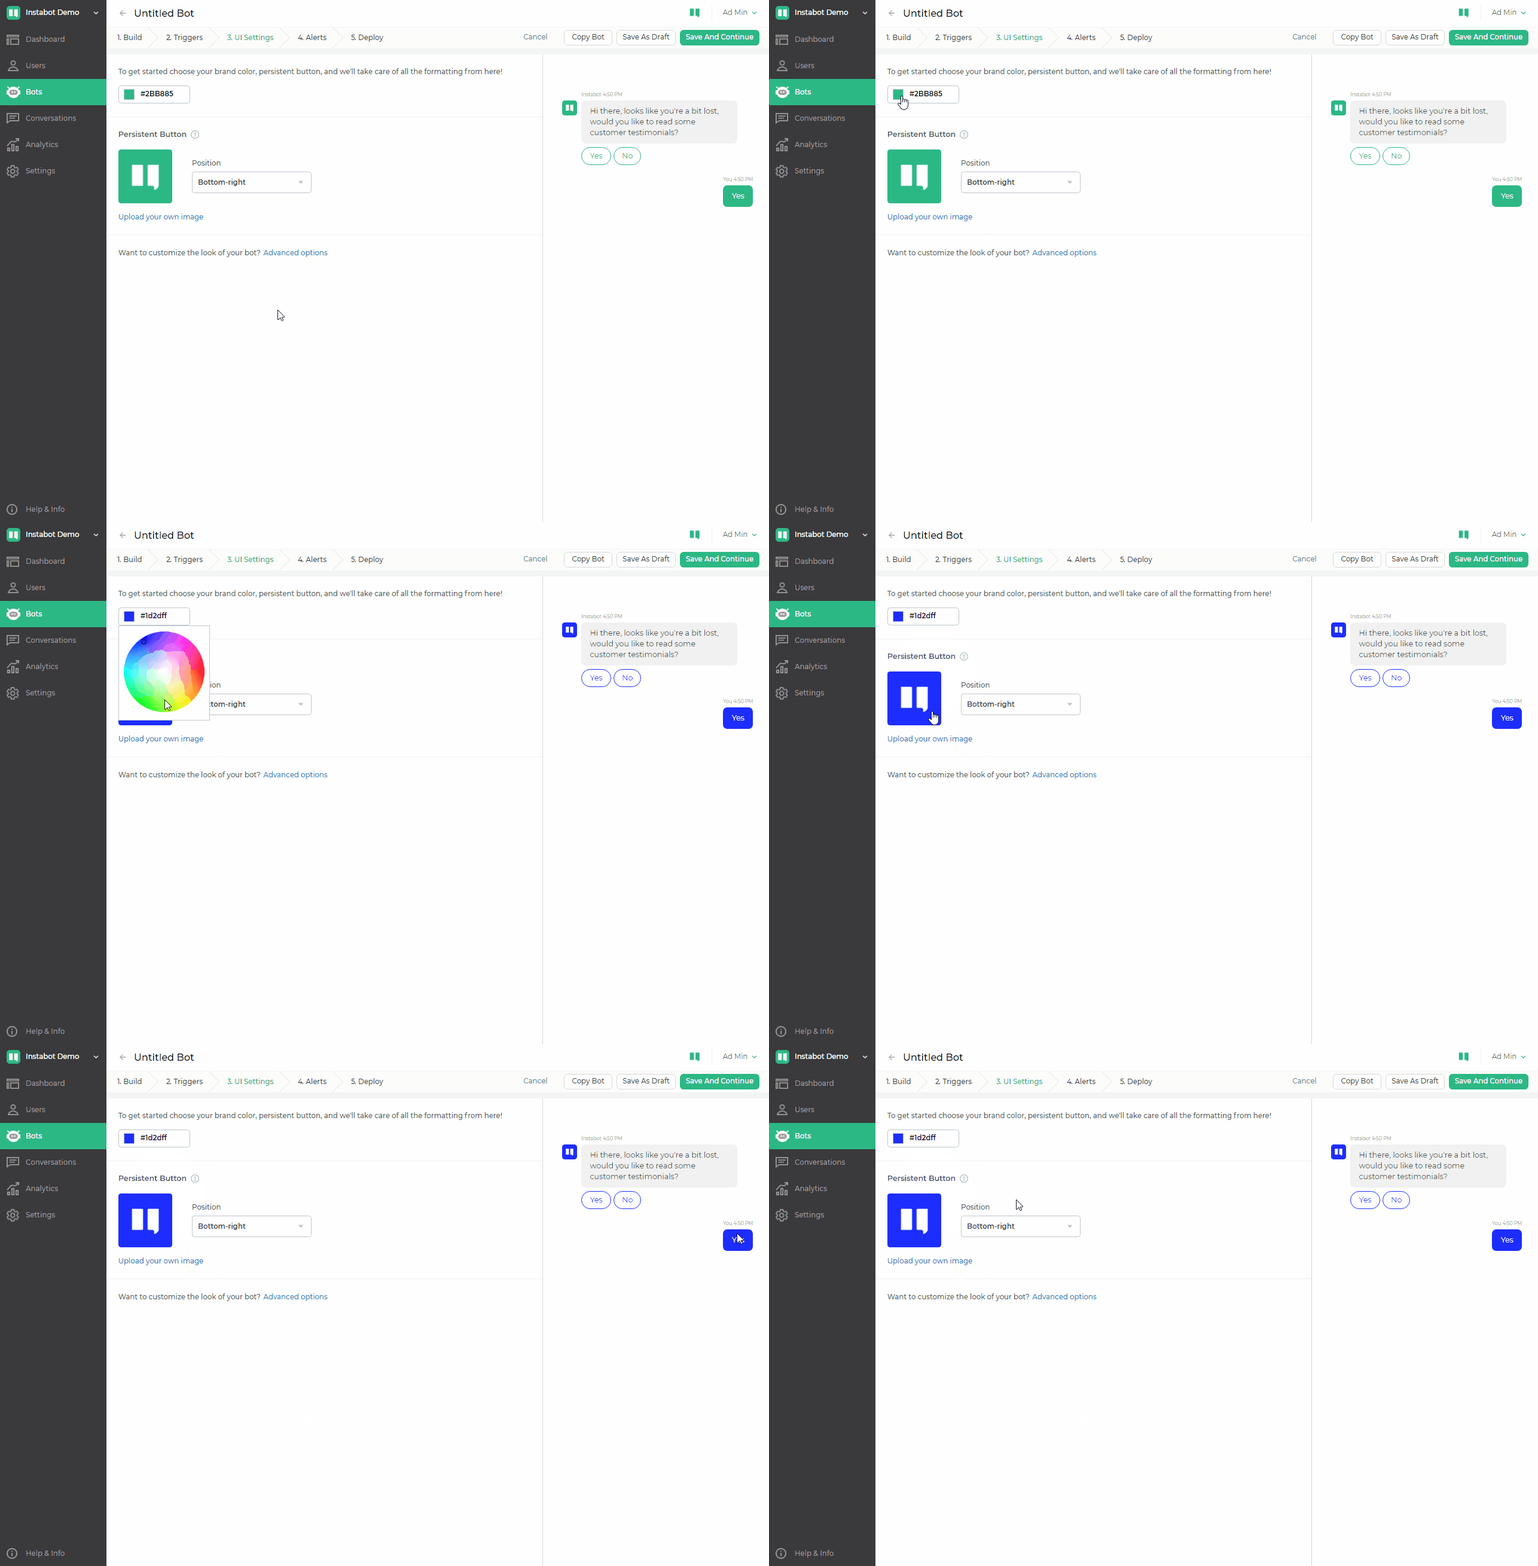
Instabot Primary Color
- Or you can customize your bot futher by selecting Advanced Options.
- Here you can change all colors and avatars as well as upload custom CSS to really make Instabot yours. (Note - CSS might not be available for all subscription types. Ask your customer support representitive if this is something you are interested in.)
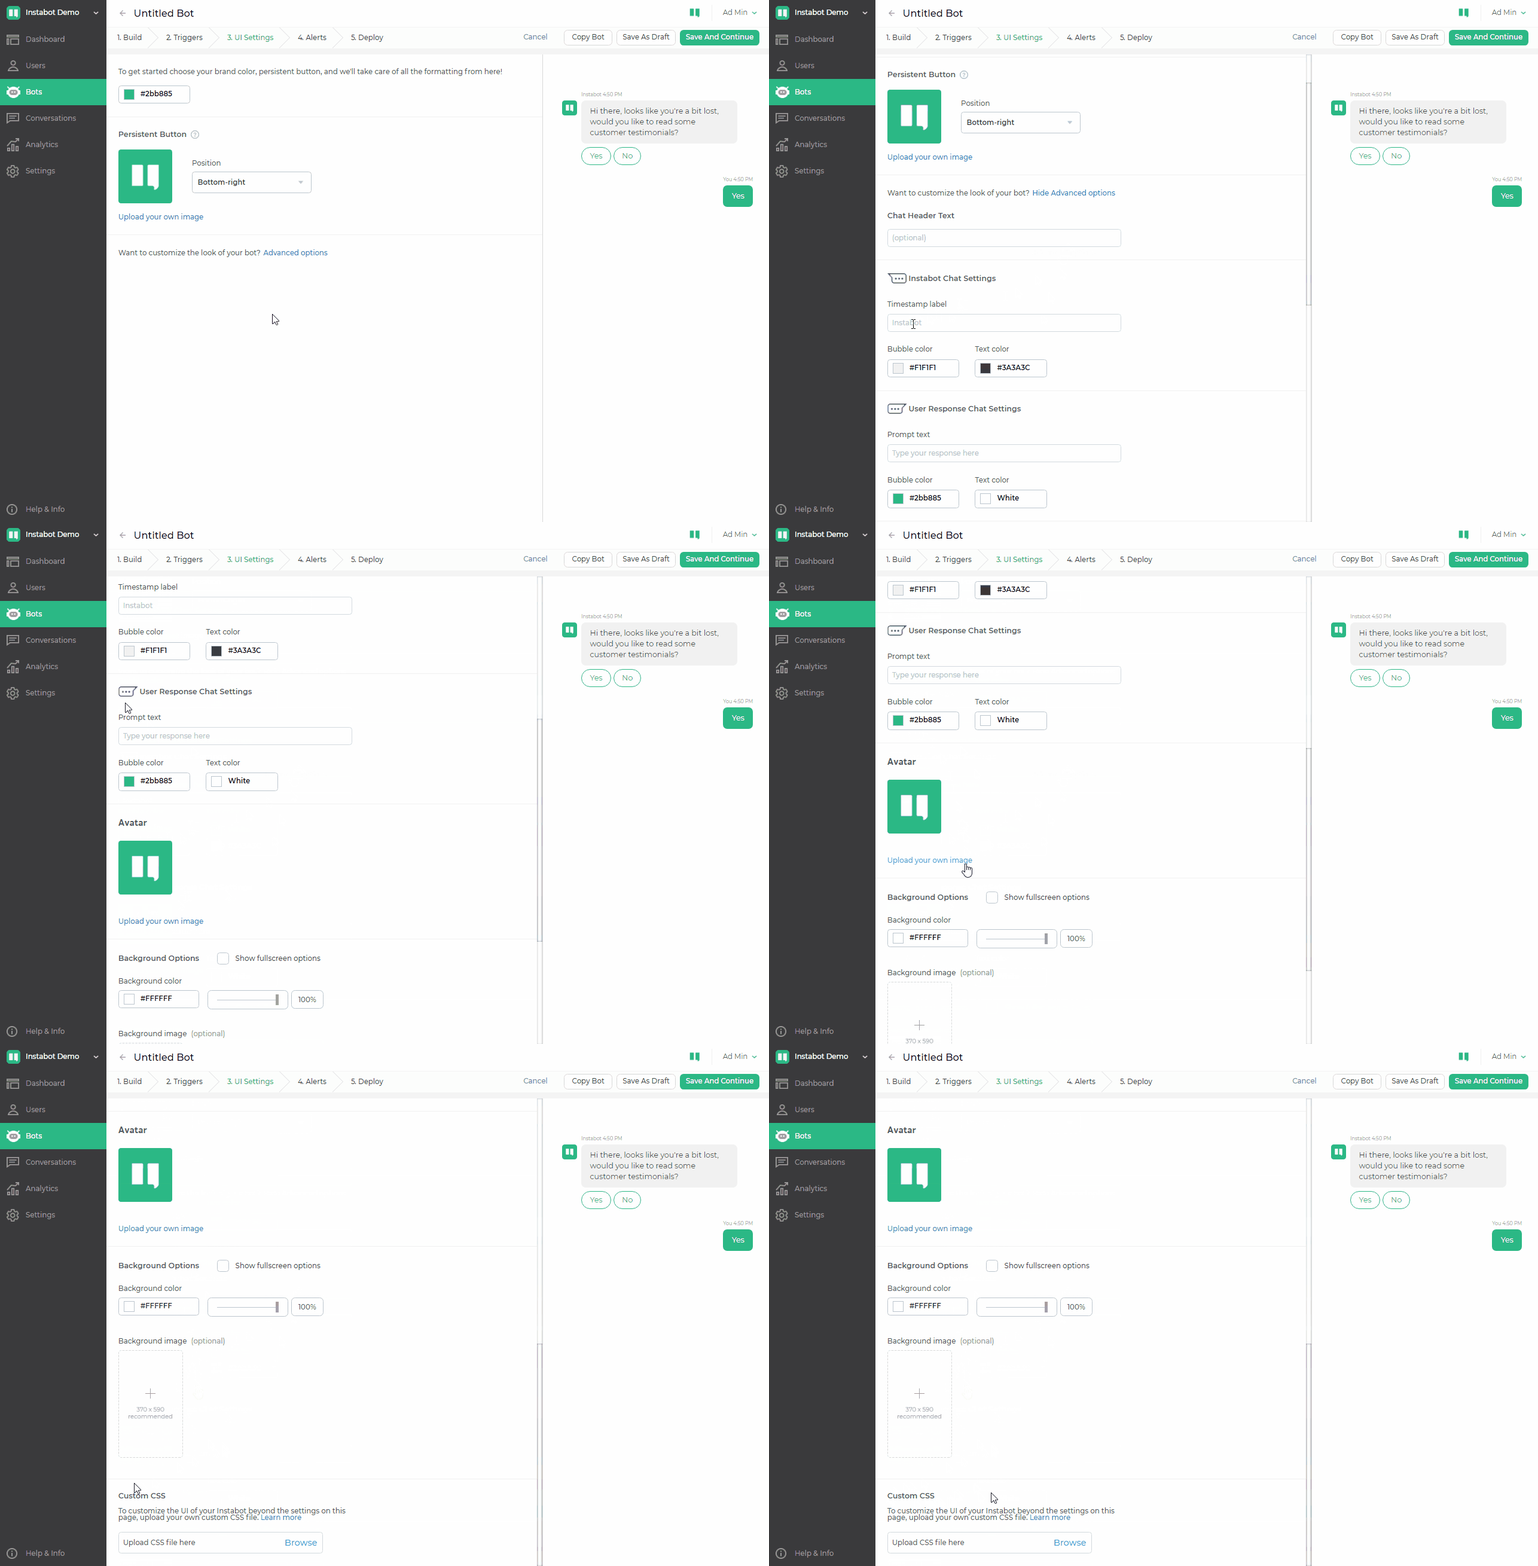
Select "Save and Continue"
Next you will set up Alerts for when users are engaging with your Instabot.
4. Notifications and Alerts
We support 3 types of alerts:
- Email Alerts: These are a recap of each engagement, showing you the exact interaction the user had with your Instabot. You can route these alerts to different teams depending on the Goals that the user completed.
- Real-time Alerts: These are browser notifications that will show up on your computer as soon as the configured action is achieved. (Bot launched, Bot Engaged, Goal Completed)
- Mobile alerts, that will generate and show a push notification from the Instabot app
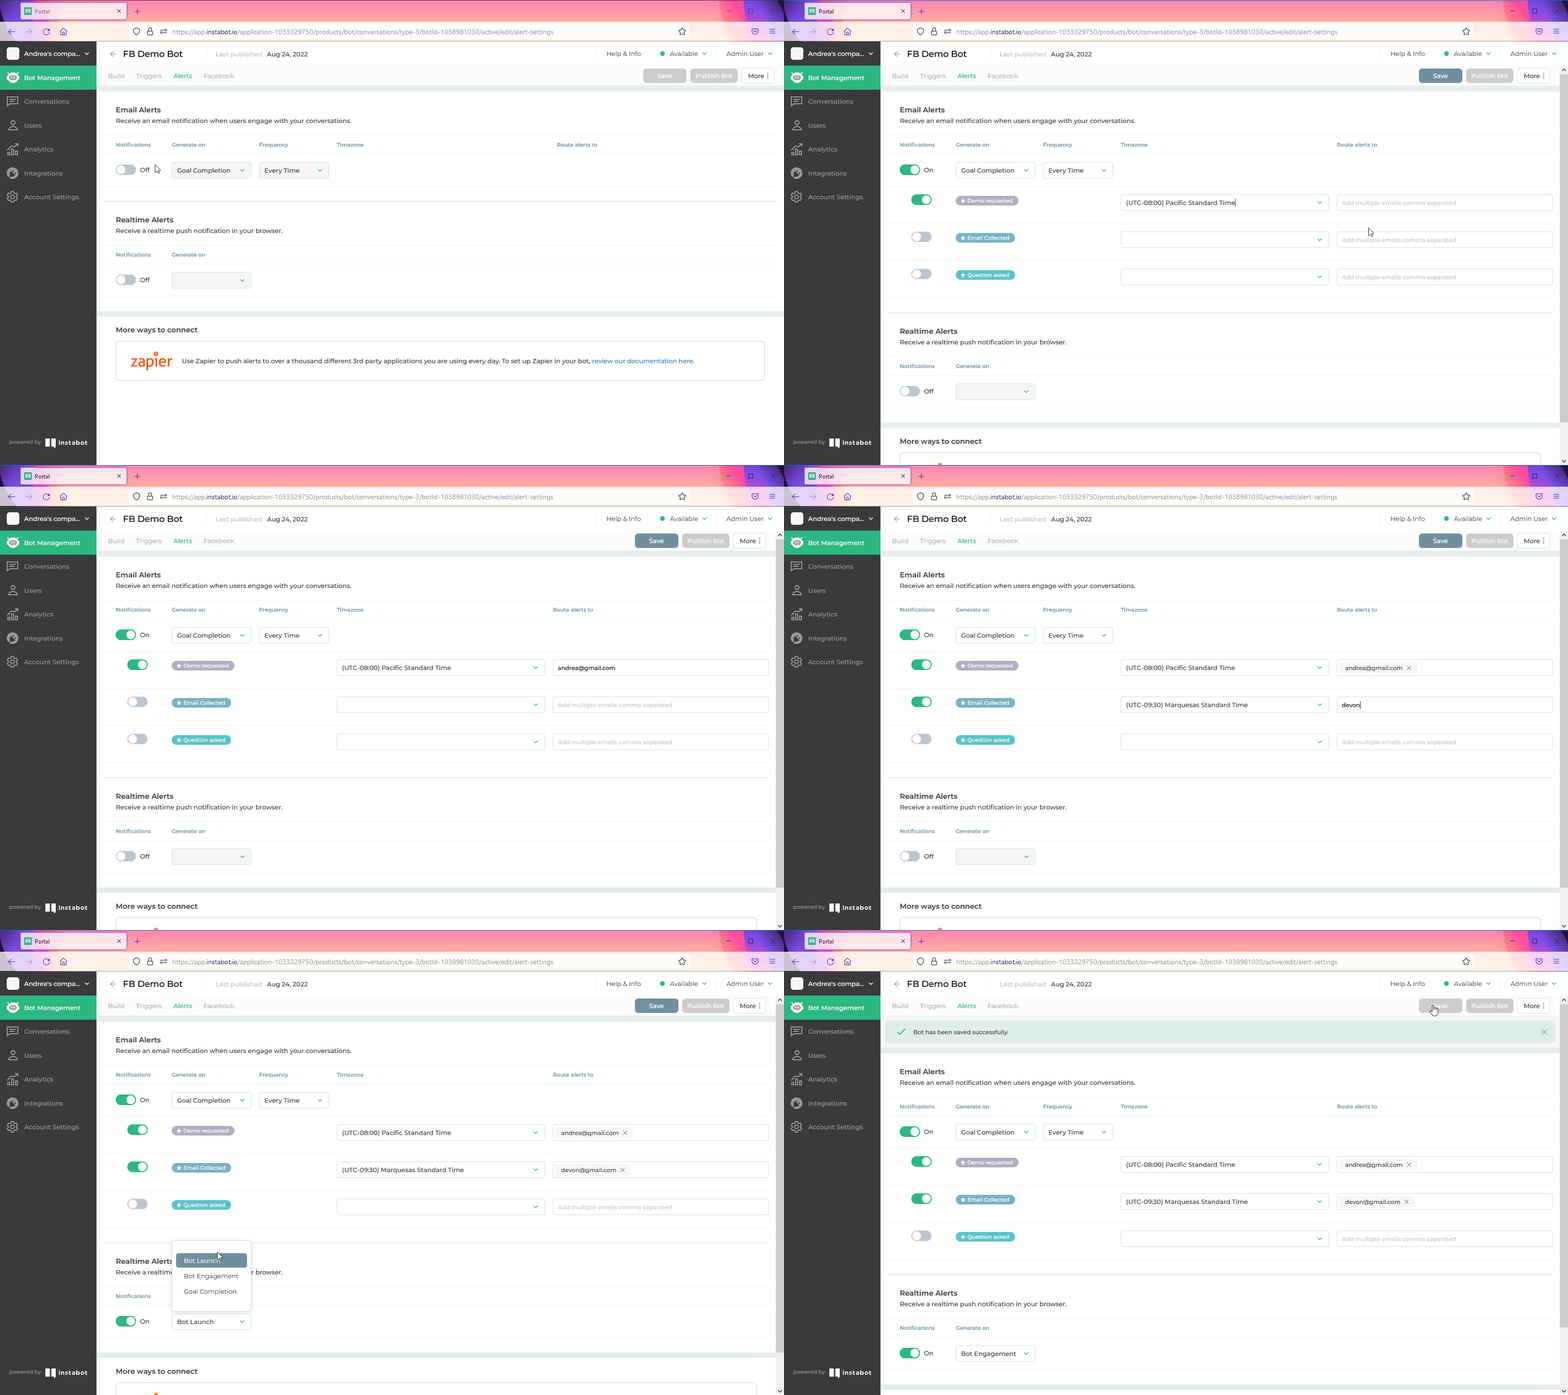
Set up Alerts
These are optional alerts and can be changed at any time.
Please, find more details about how to configure email alerts, real-time alerts, and mobile alerts in this article.
5. Deploy your Instabot
If you've gotten this far, you're so close! You have a few options to set your bot live on your site
Updated over 3 years ago
